Fonts
Texts are the backbone of sharing information with your visitors. The fonts you choose shape how that information is perceived and understood, because typography affects readability, scanning speed, and the overall tone of the message. A clear, well-matched font makes long sections easier to read, helps headings and body text feel organized, and creates a consistent visual hierarchy that guides the eye. Fonts also communicate personality and trust at a glance, whether you want the site to feel modern, friendly, premium, or technical. When typography is consistent across the project, the content feels more professional, more cohesive, and easier for visitors to engage with.
Any widget that includes text offers font controls, so you can adjust everything from the typeface and size to colors and other typography settings.
The Text Settings Panel
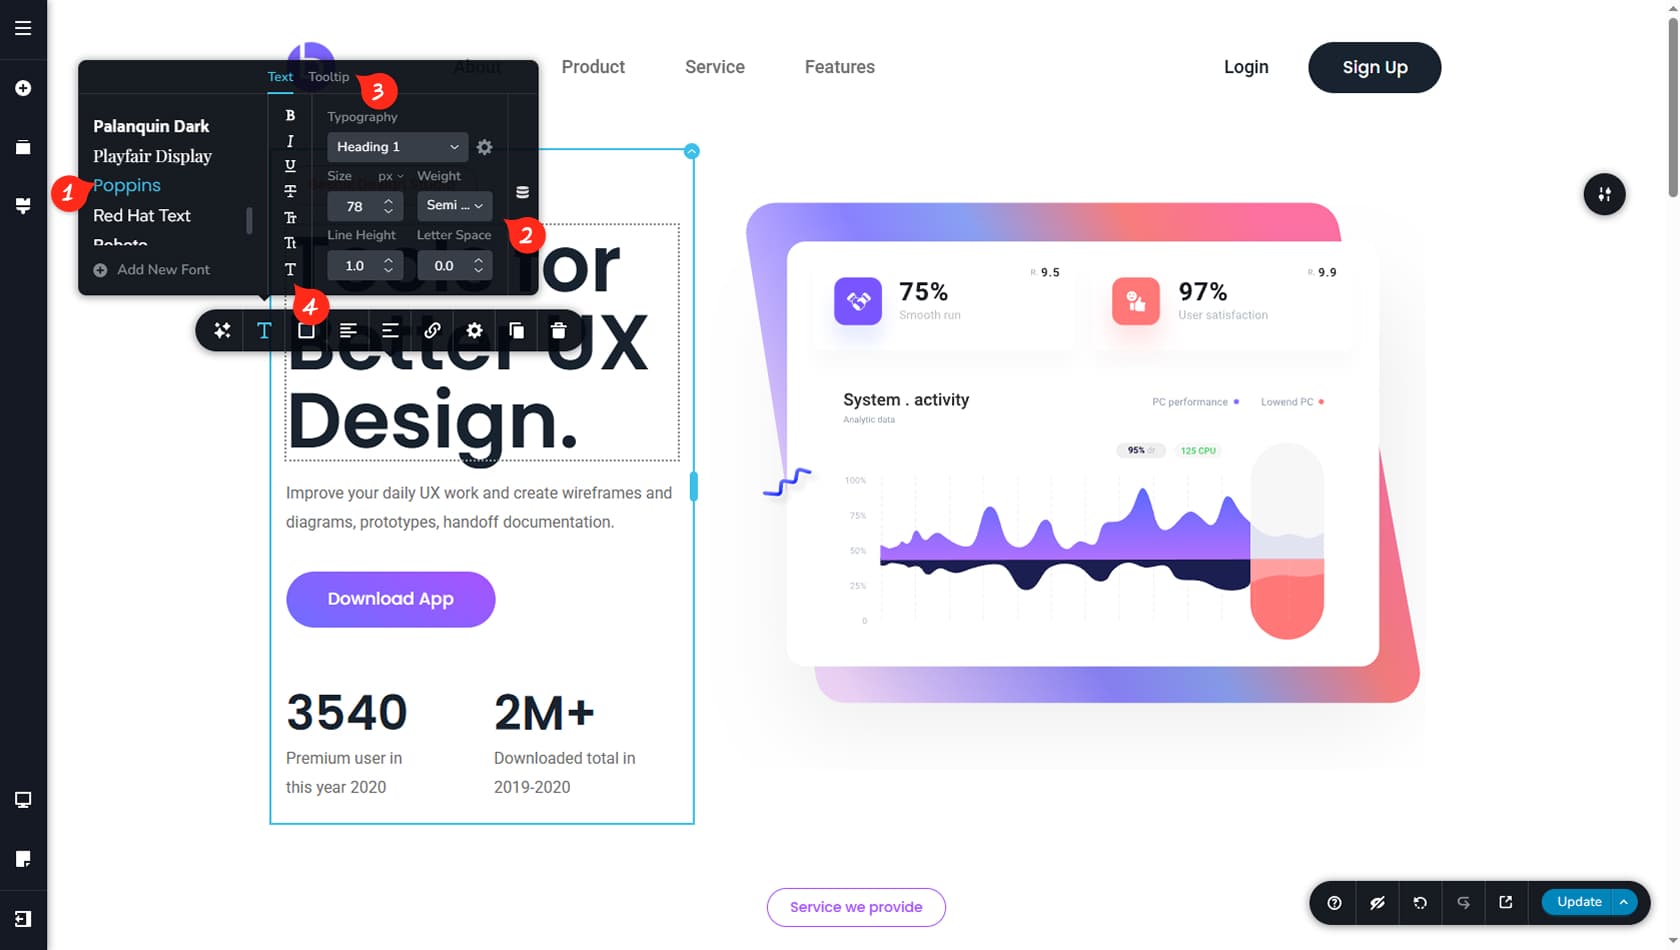
When you select any widget that includes text, you will see a T icon in its toolbar, which opens the Typography settings. This section breaks down what you can adjust inside that panel.
All Fonts
On the left side of the Typography panel, you will find a list of the default font families available. Selecting one instantly applies that font to the widget’s text.
While the Text widget includes a single Text tab, more advanced widgets may include additional tabs so you can choose which specific text area you want to edit. More details are covered in the individual widget articles.
Typography Customization
The right side of the Typography panel includes controls for fine-tuning the text style, such as size, weight, line height, and letter spacing. Above these controls, you can apply a typography style from your global styles. For more details, see the Global Styles article. If no global style is selected, the label “Custom” appears, indicating the text style is unique and not linked to any global typography settings.
Using global styles is highly recommended because they help you edit faster and keep typography and colors consistent across the entire site.
Other Options
For the Text widget, you will also see a Tooltip option at the top, which lets you show a small text pop-up when a visitor clicks an underlined phrase. Keep in mind that the row of controls shown above the typography settings is different for each widget, so the available options and customizations will vary depending on what you have selected.
Font Transformation
From this vertical panel, you can set the font to be Bold, Italic, Underlined, Striked, Uppercase, Lowercase or None of the above.
Add New Fonts
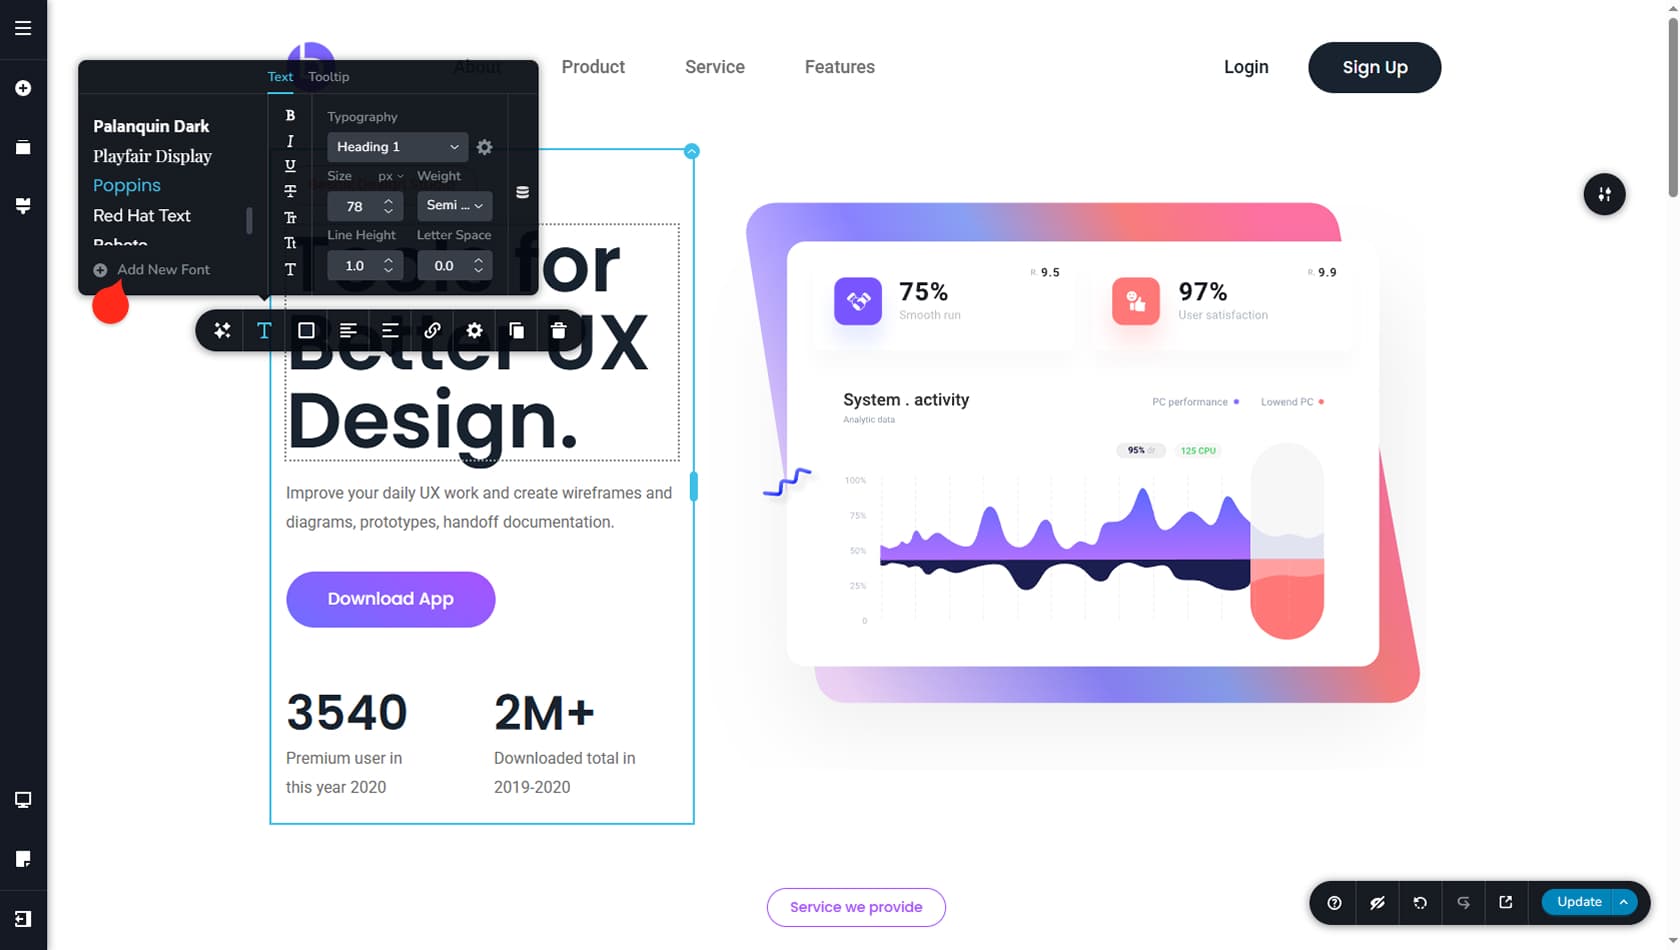
Navigating to Add New Font lets you upload a font from several available sources and review the fonts already added to your project. Next, we will walk through the different ways to add a new font.
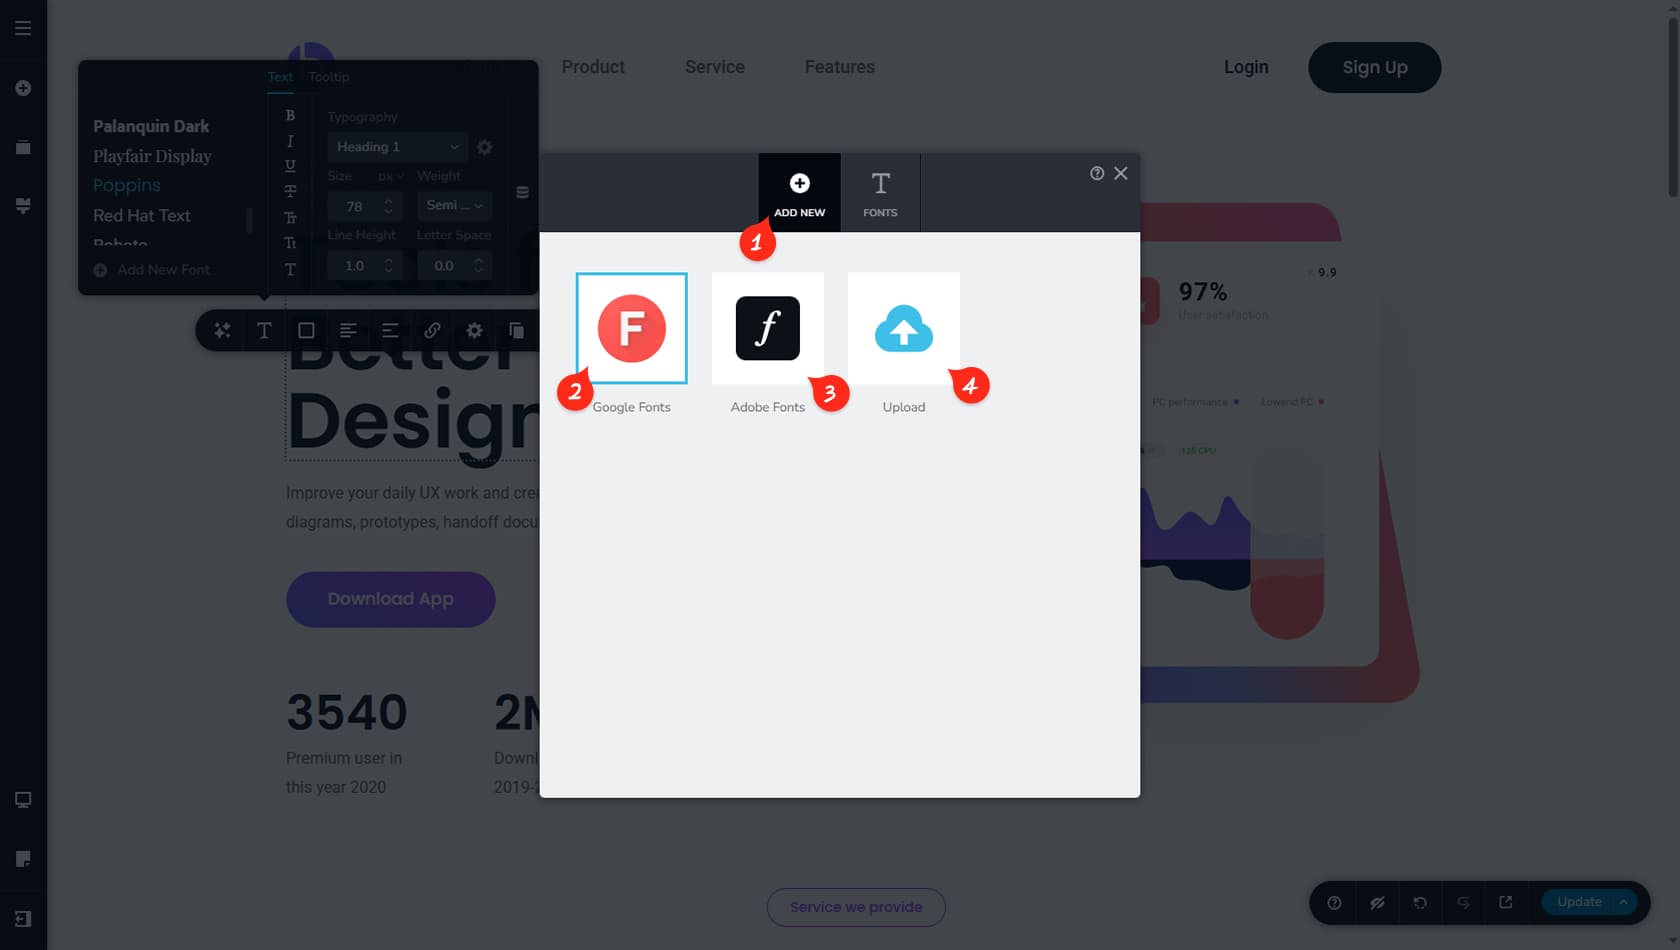
Add Font Tab
To add a new font, make sure the Add New tab is selected. This is usually the default view.
Add Google Font
You can add a Google font in two quick steps. Start typing the font name to filter the list, select the font, then click Next to add it to your available fonts.
Add Adobe Font
Adobe fonts require connecting to your Adobe account. Open My Adobe Fonts, go to Web Projects, copy the Project ID, and paste it into the field in this panel. Then follow the prompts to add the font.
Upload Font files
You can also upload your own font files in .ttf, .eot, .woff, or .woff2 format. Name the font, then upload one or multiple files to support different font weights.
If you do not see the font files you want to upload, they are likely in an unsupported format. Check that the files use the correct font extensions before trying again.
Fonts List
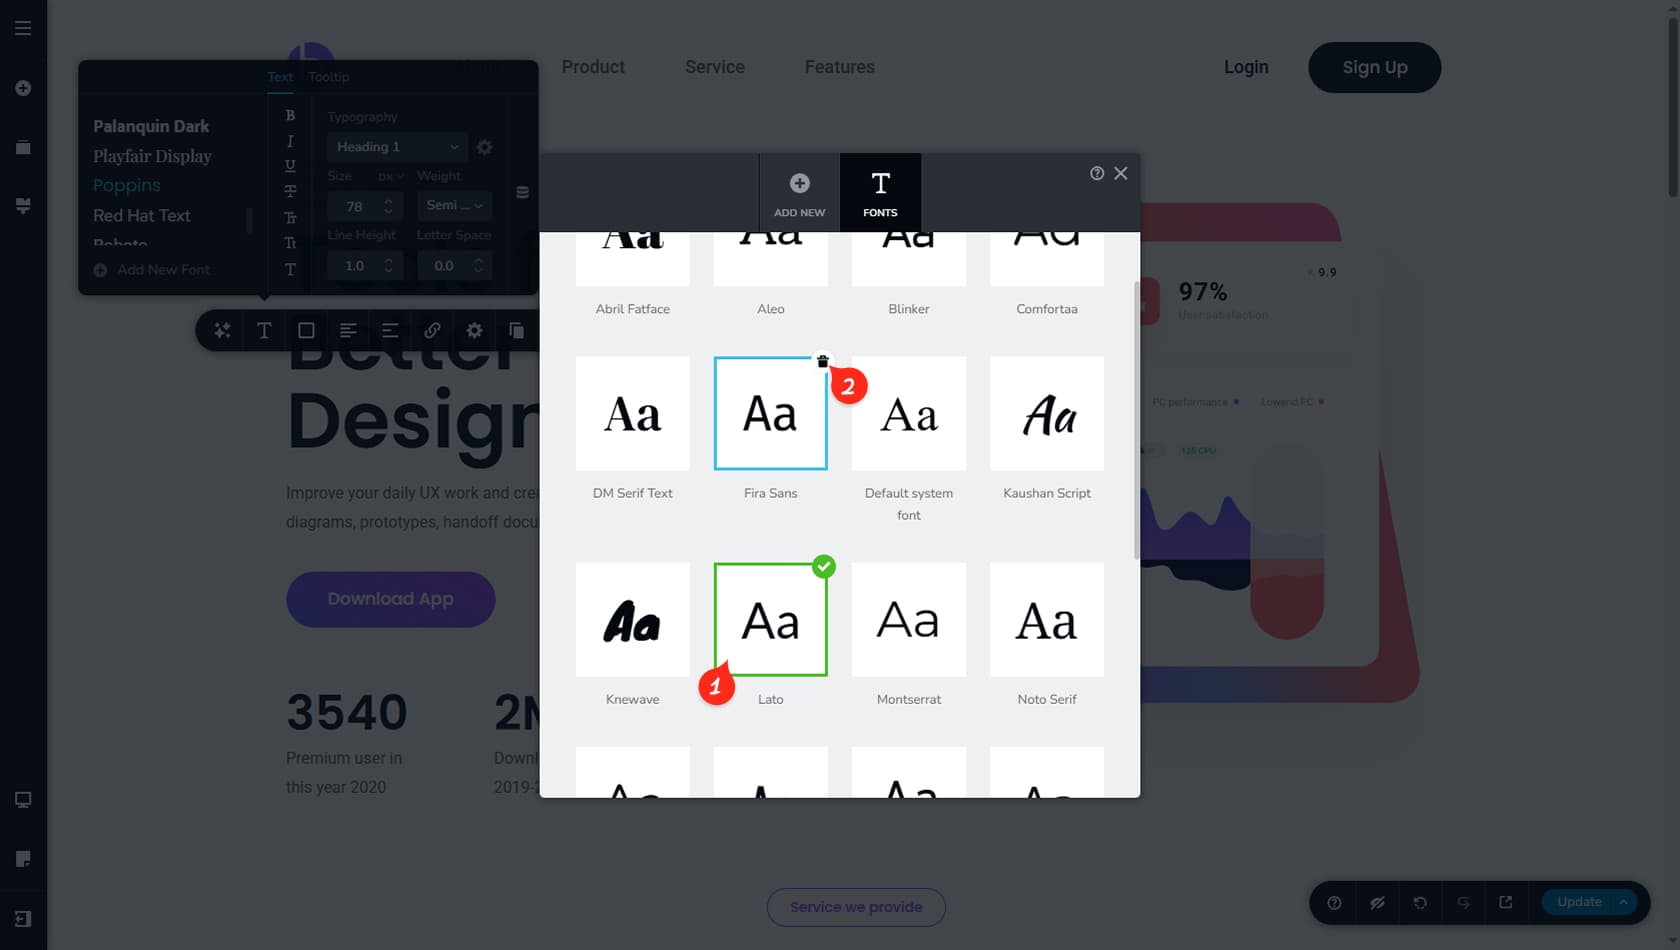
From the Fonts tab, you can view all fonts currently added to your project.
Default Font
Lato is included by default and cannot be removed. Any widget that uses a default font will start with Lato until you change it.
Removing Fonts
If there are fonts you do not plan to use and chances are you do, you can remove them by clicking the delete icon in the top-right corner of each font entry. This will keep your font list clean and tidy.
If you accidentally delete a font you still need, you can add it back anytime using the Add New option.