Multilanguage
Providing a translation option for your content is essential for reaching a broader, more diverse audience. Multilanguage support allows users to access information in their preferred language, improving clarity, usability, and overall engagement. By offering translations, projects become more inclusive and accessible, helping content resonate across different regions and cultures while strengthening trust and user experience.
Before you start
Automatic translation needs a Google Translation API key. Getting one takes about fifteen minutes and is done on Google’s website rather than in the builder, so it has a guide of its own: Get a Google Translation API key.
You only need the key for automatic translation. If you intend to type your translations yourself, skip it and carry on below.
How to Set Up Your Website’s Language
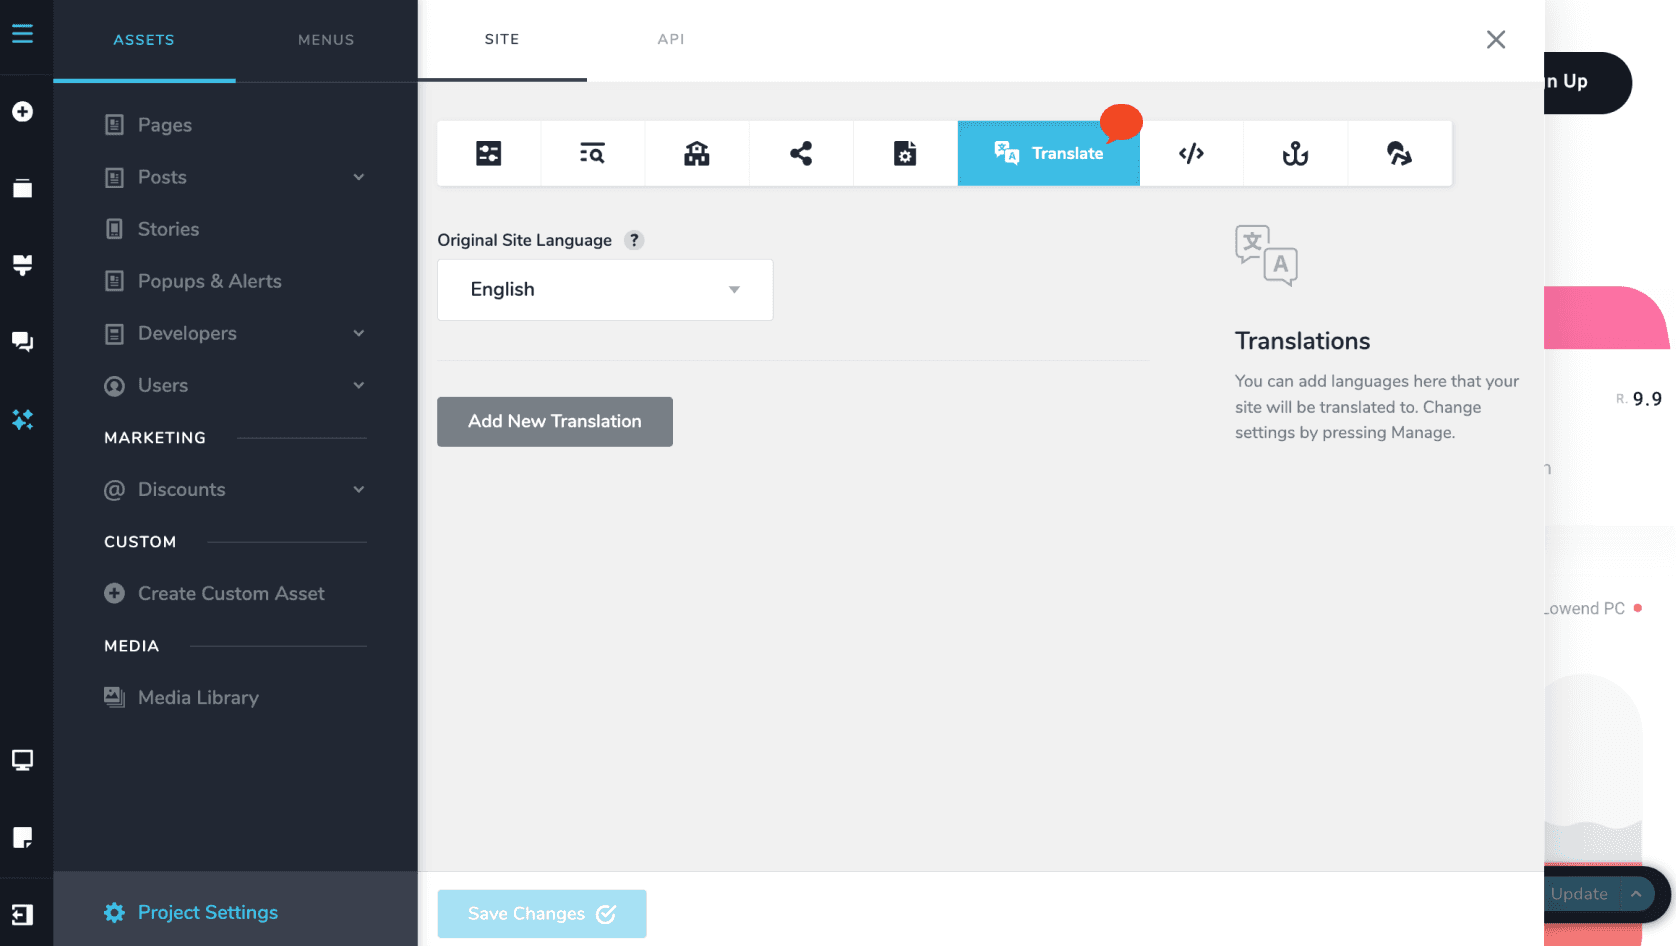
To configure your website’s language, start by clicking the icon in the upper-left corner and selecting Project Settings. From there, open the Translate tab.
Website Language
In this section, you can select your website’s original language from the dropdown menu.
Google Translation key
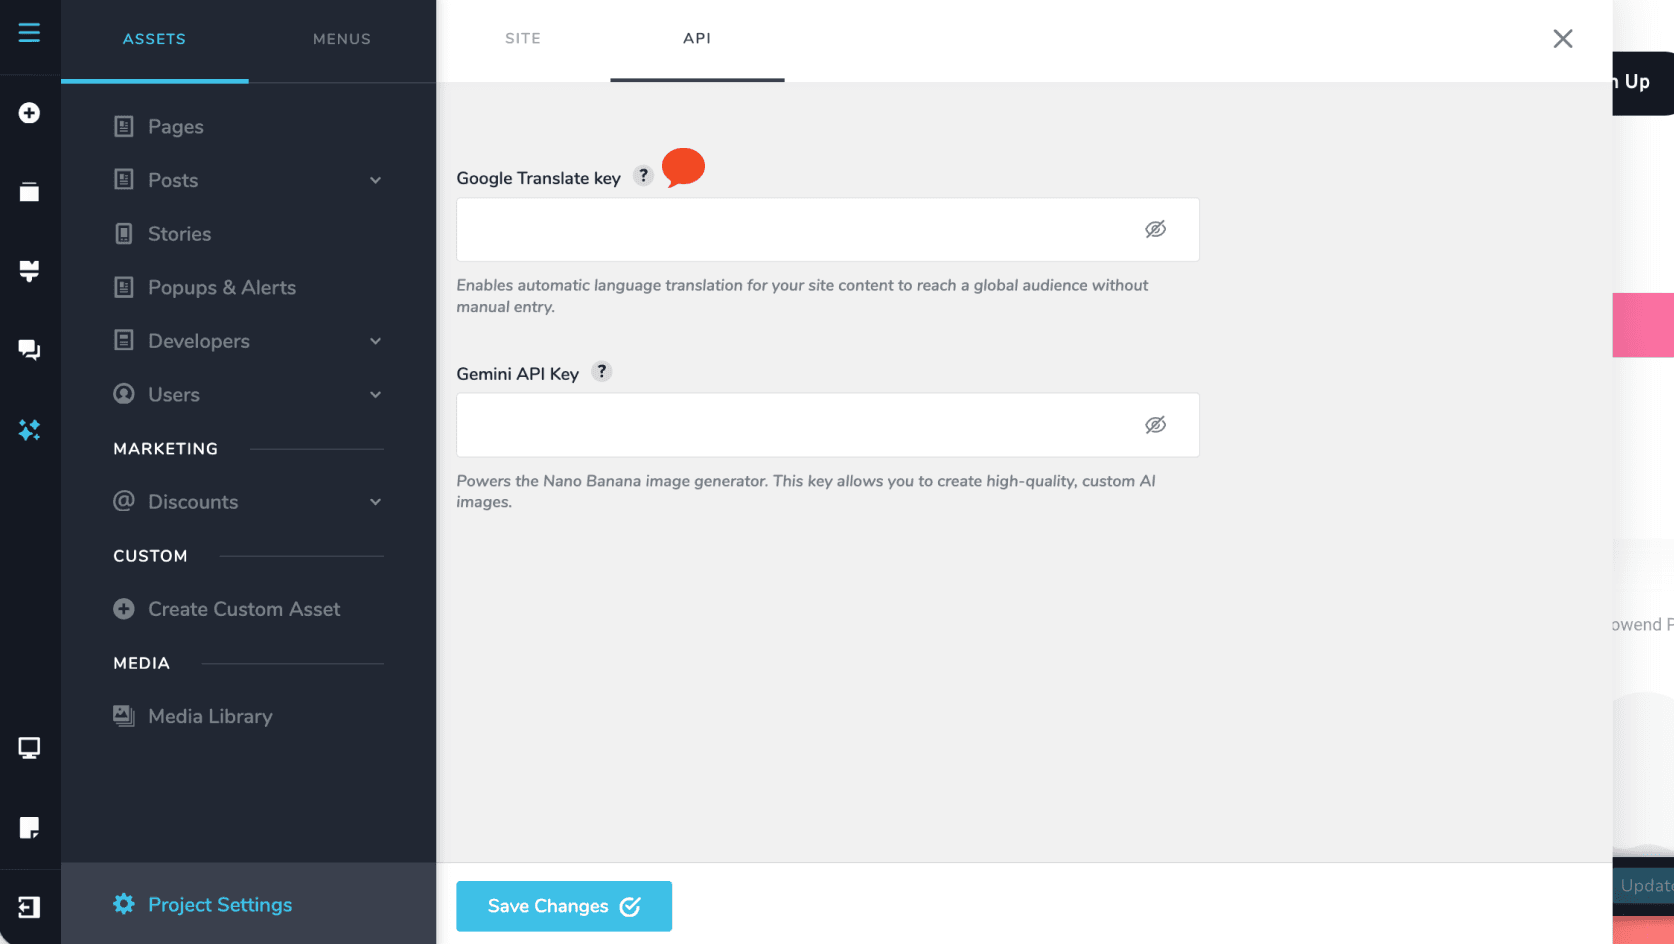
Enter your Google Translation key, which enables automatic translations powered by Google. See Get a Google Translation API key for how to obtain one.
Return to complete the translation
Once finished, be sure to save your settings, or select Add a New Translation if you want to add another language.
How to Set Up a Translation
Choose Language for Translation
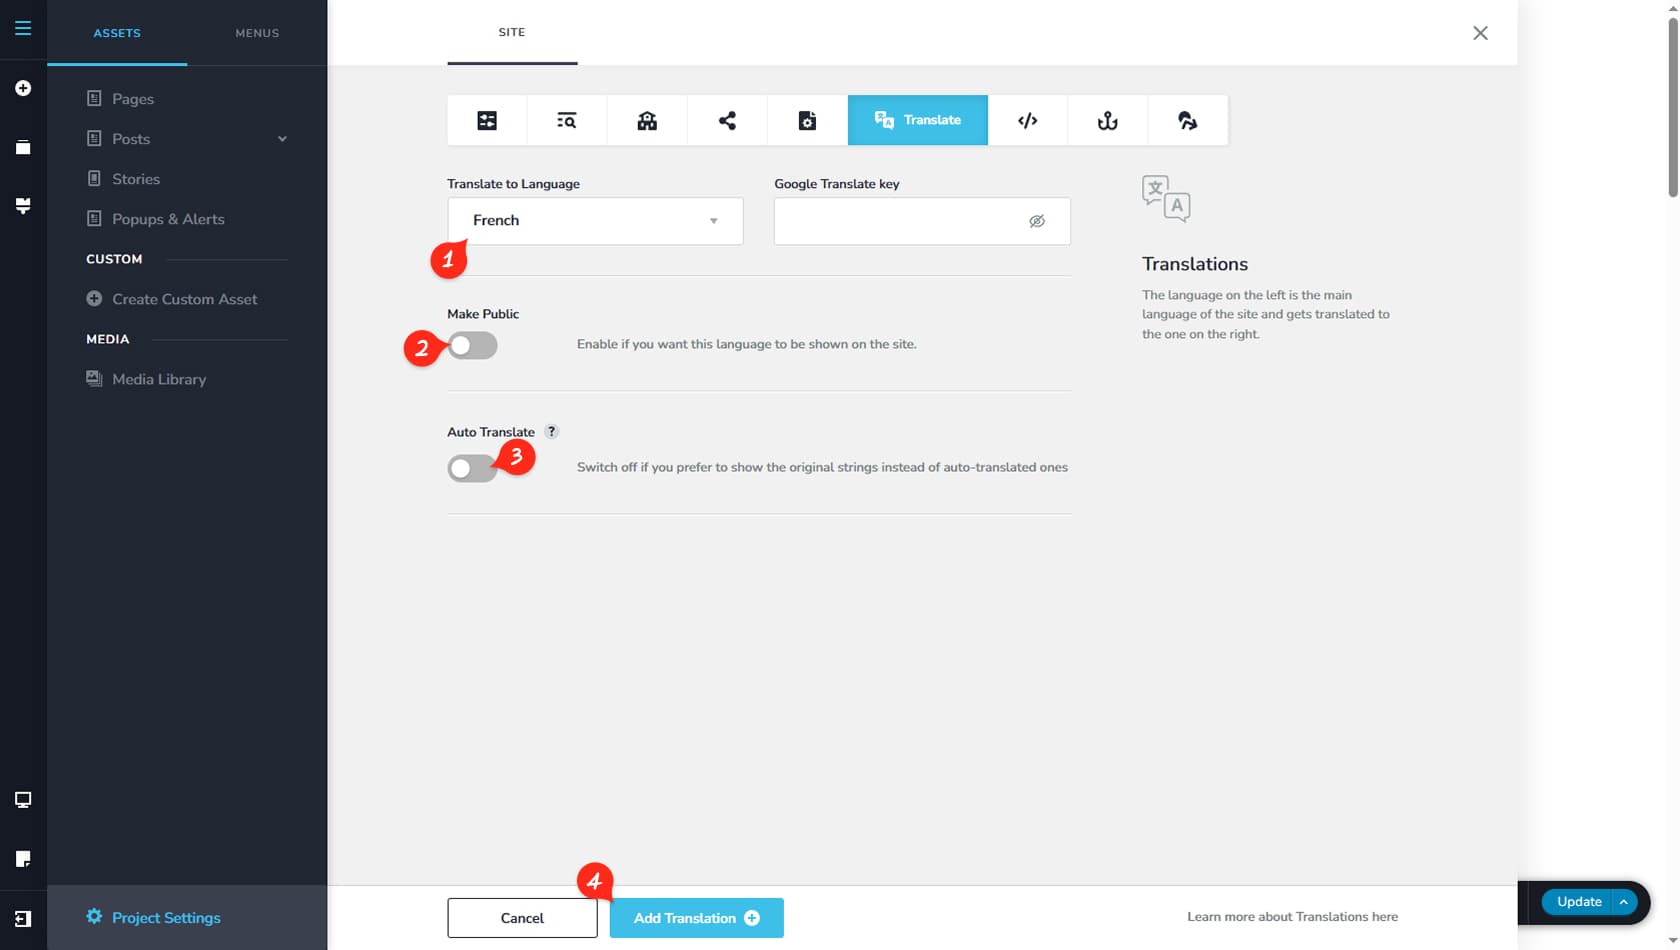
First, select the language you want to translate your website into.
Make Public
Enable Make Public if you want the translated version to be visible.
Auto Translate
Toggle Auto-Translate if you want to use Google’s automatic translation feature.
This option is only available if you have the PRO version of the builder.
Add Translation
Finally, confirm the translation by adding it to your project.
Manual Translation
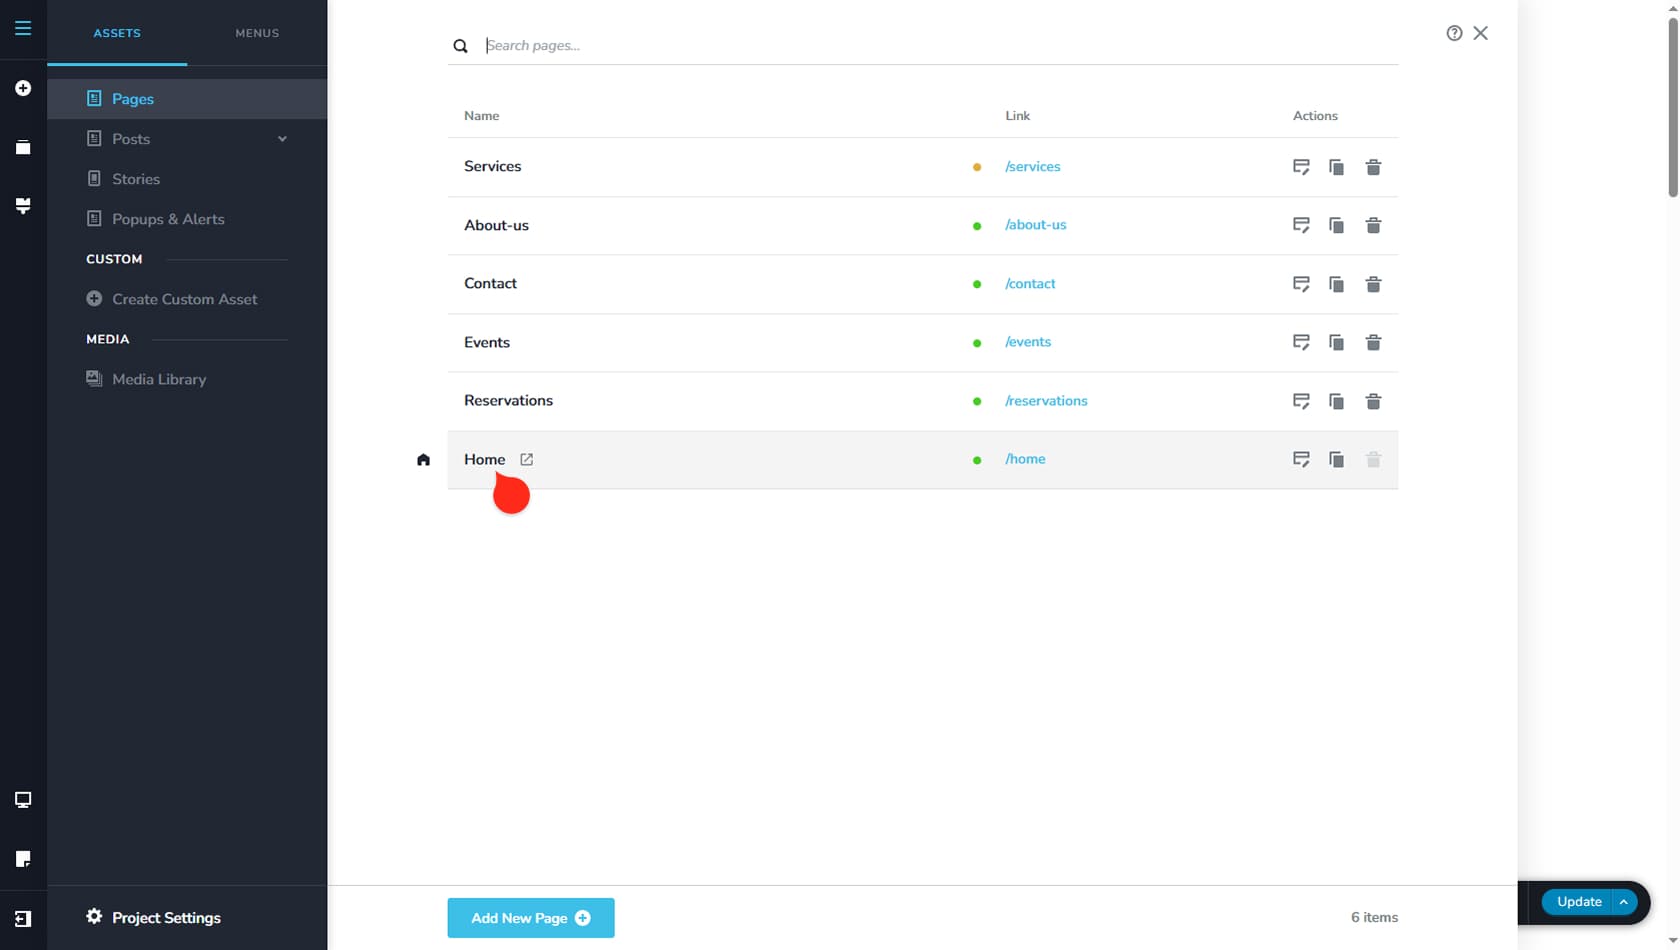
This first step to translate manually (or preview the automatic translation) is to navigate to the settings of a page. Click on the page or post name first.
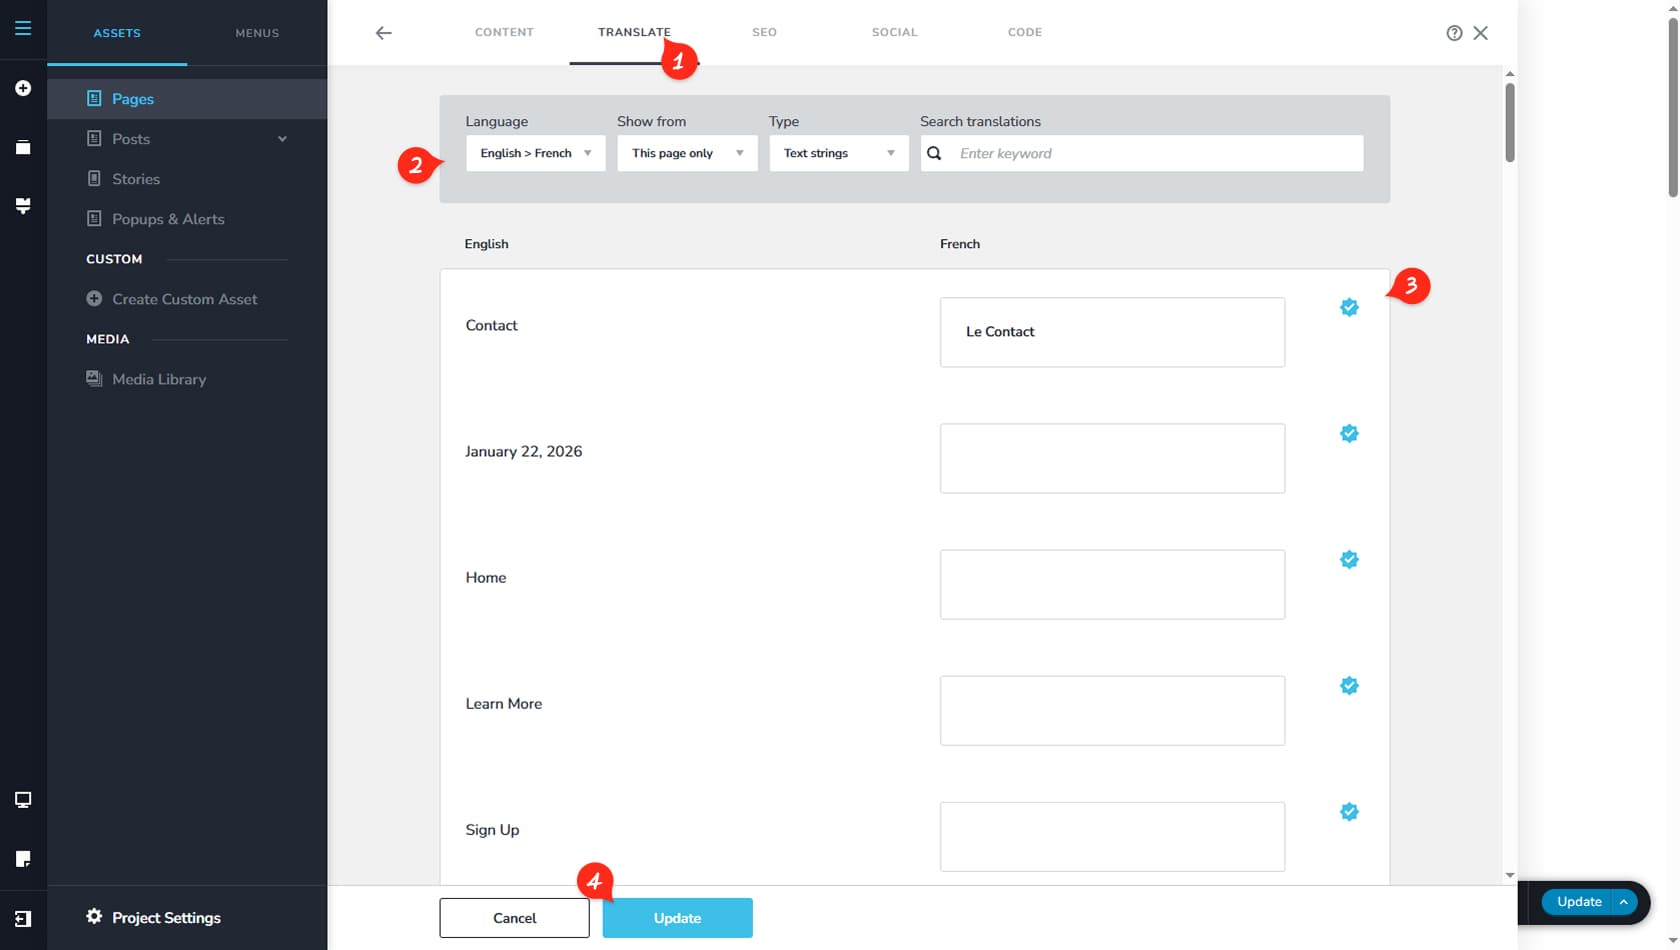
From there, navigate to the Translation Tab on top, to the right of Content.
Translate Panel
This is the Translation panel for your page. In this case, a French translation from English has been set up, but automatic translation is disabled, meaning all translations must be done manually.
Filter Options
The filter options help streamline the translation and preview process. You can select the translation language, choose where translated strings are displayed from, filter by translation type such as text or images, and use the search function to locate specific strings.
String translations
This panel is the most important section, as it allows you to manually translate any string or preview automatically generated translations when available. On the left you can see the original text while on the right you can see or edit the translated version.
Update
Be sure to update your changes once you are finished.
The Translation Widget
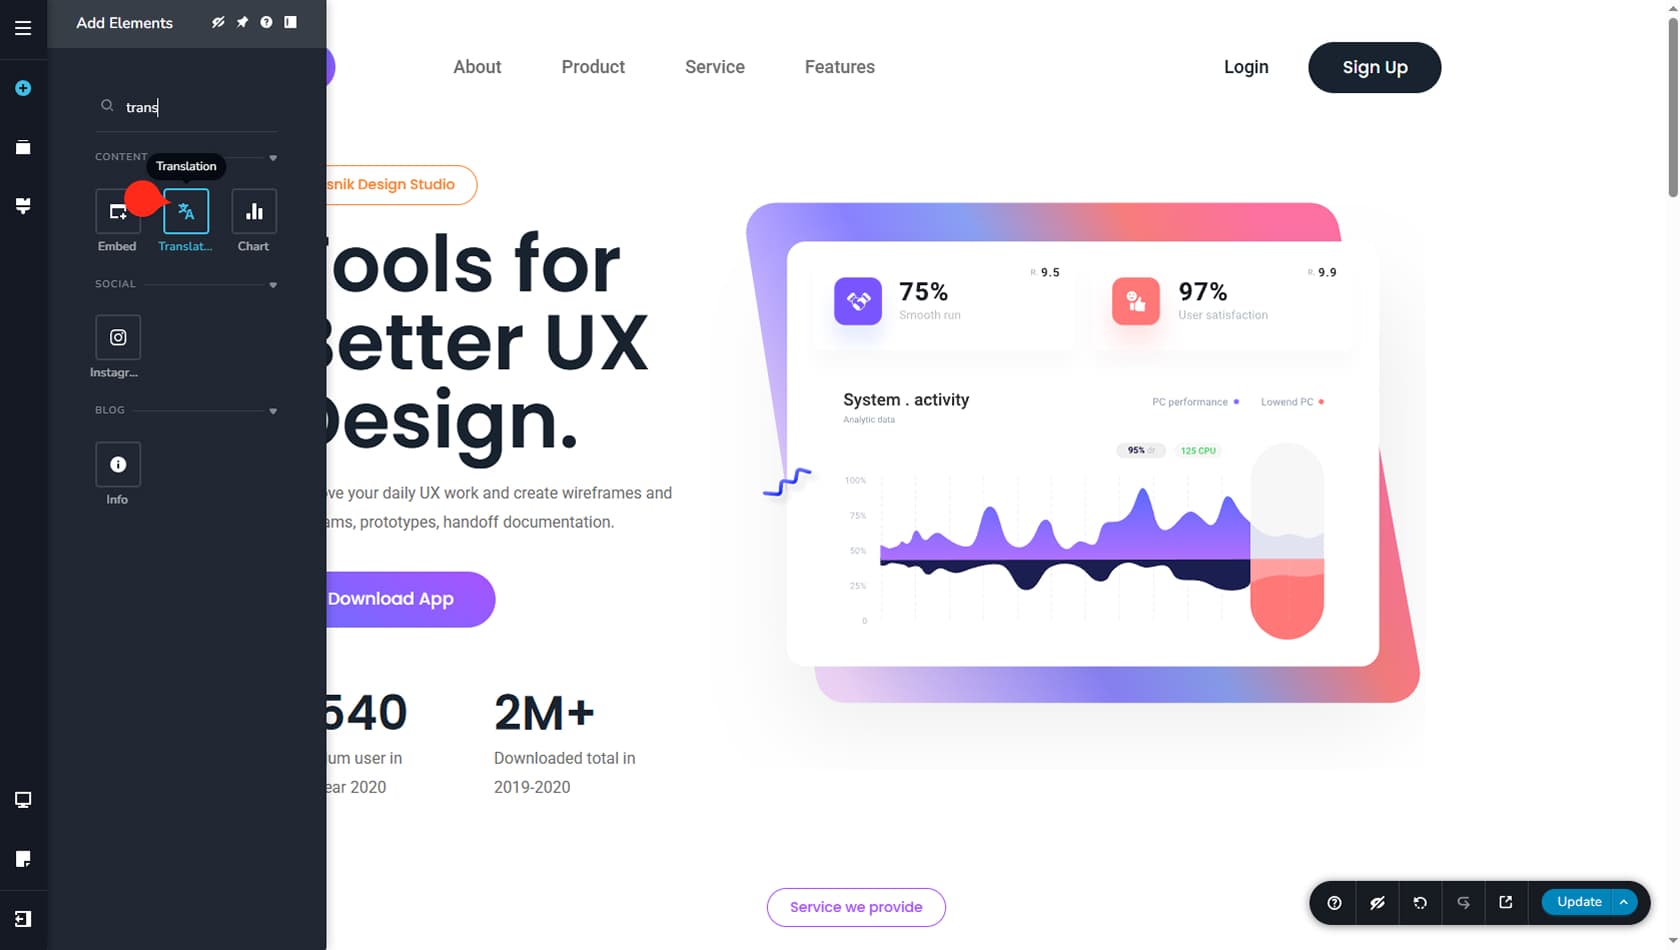
Once your Translation is set up, you can Drag & Drop the Translate widget anywhere in your page. This will allow visitors to switch between languages. More about customizing this widget in the Translation article.