How to add structured data markup to a page
Structured data markup is code added to a page that tells search engines exactly what the page contains. It helps Google understand the page and can unlock richer listings in search results — star ratings, breadcrumbs, event details, author and date on an article.
Think of it as a label on a box. The box still holds the same thing either way, but a labelled box gets handled properly.
Markup is added one page at a time. There is no site-wide setting.
Most of this happens in two free Google tools rather than in the builder, so you will be switching between browser tabs. Keep the builder tab open throughout.
Part 1 — start in the builder
Open the page
Under CMS › Pages, click the name of the page you want to add markup to.
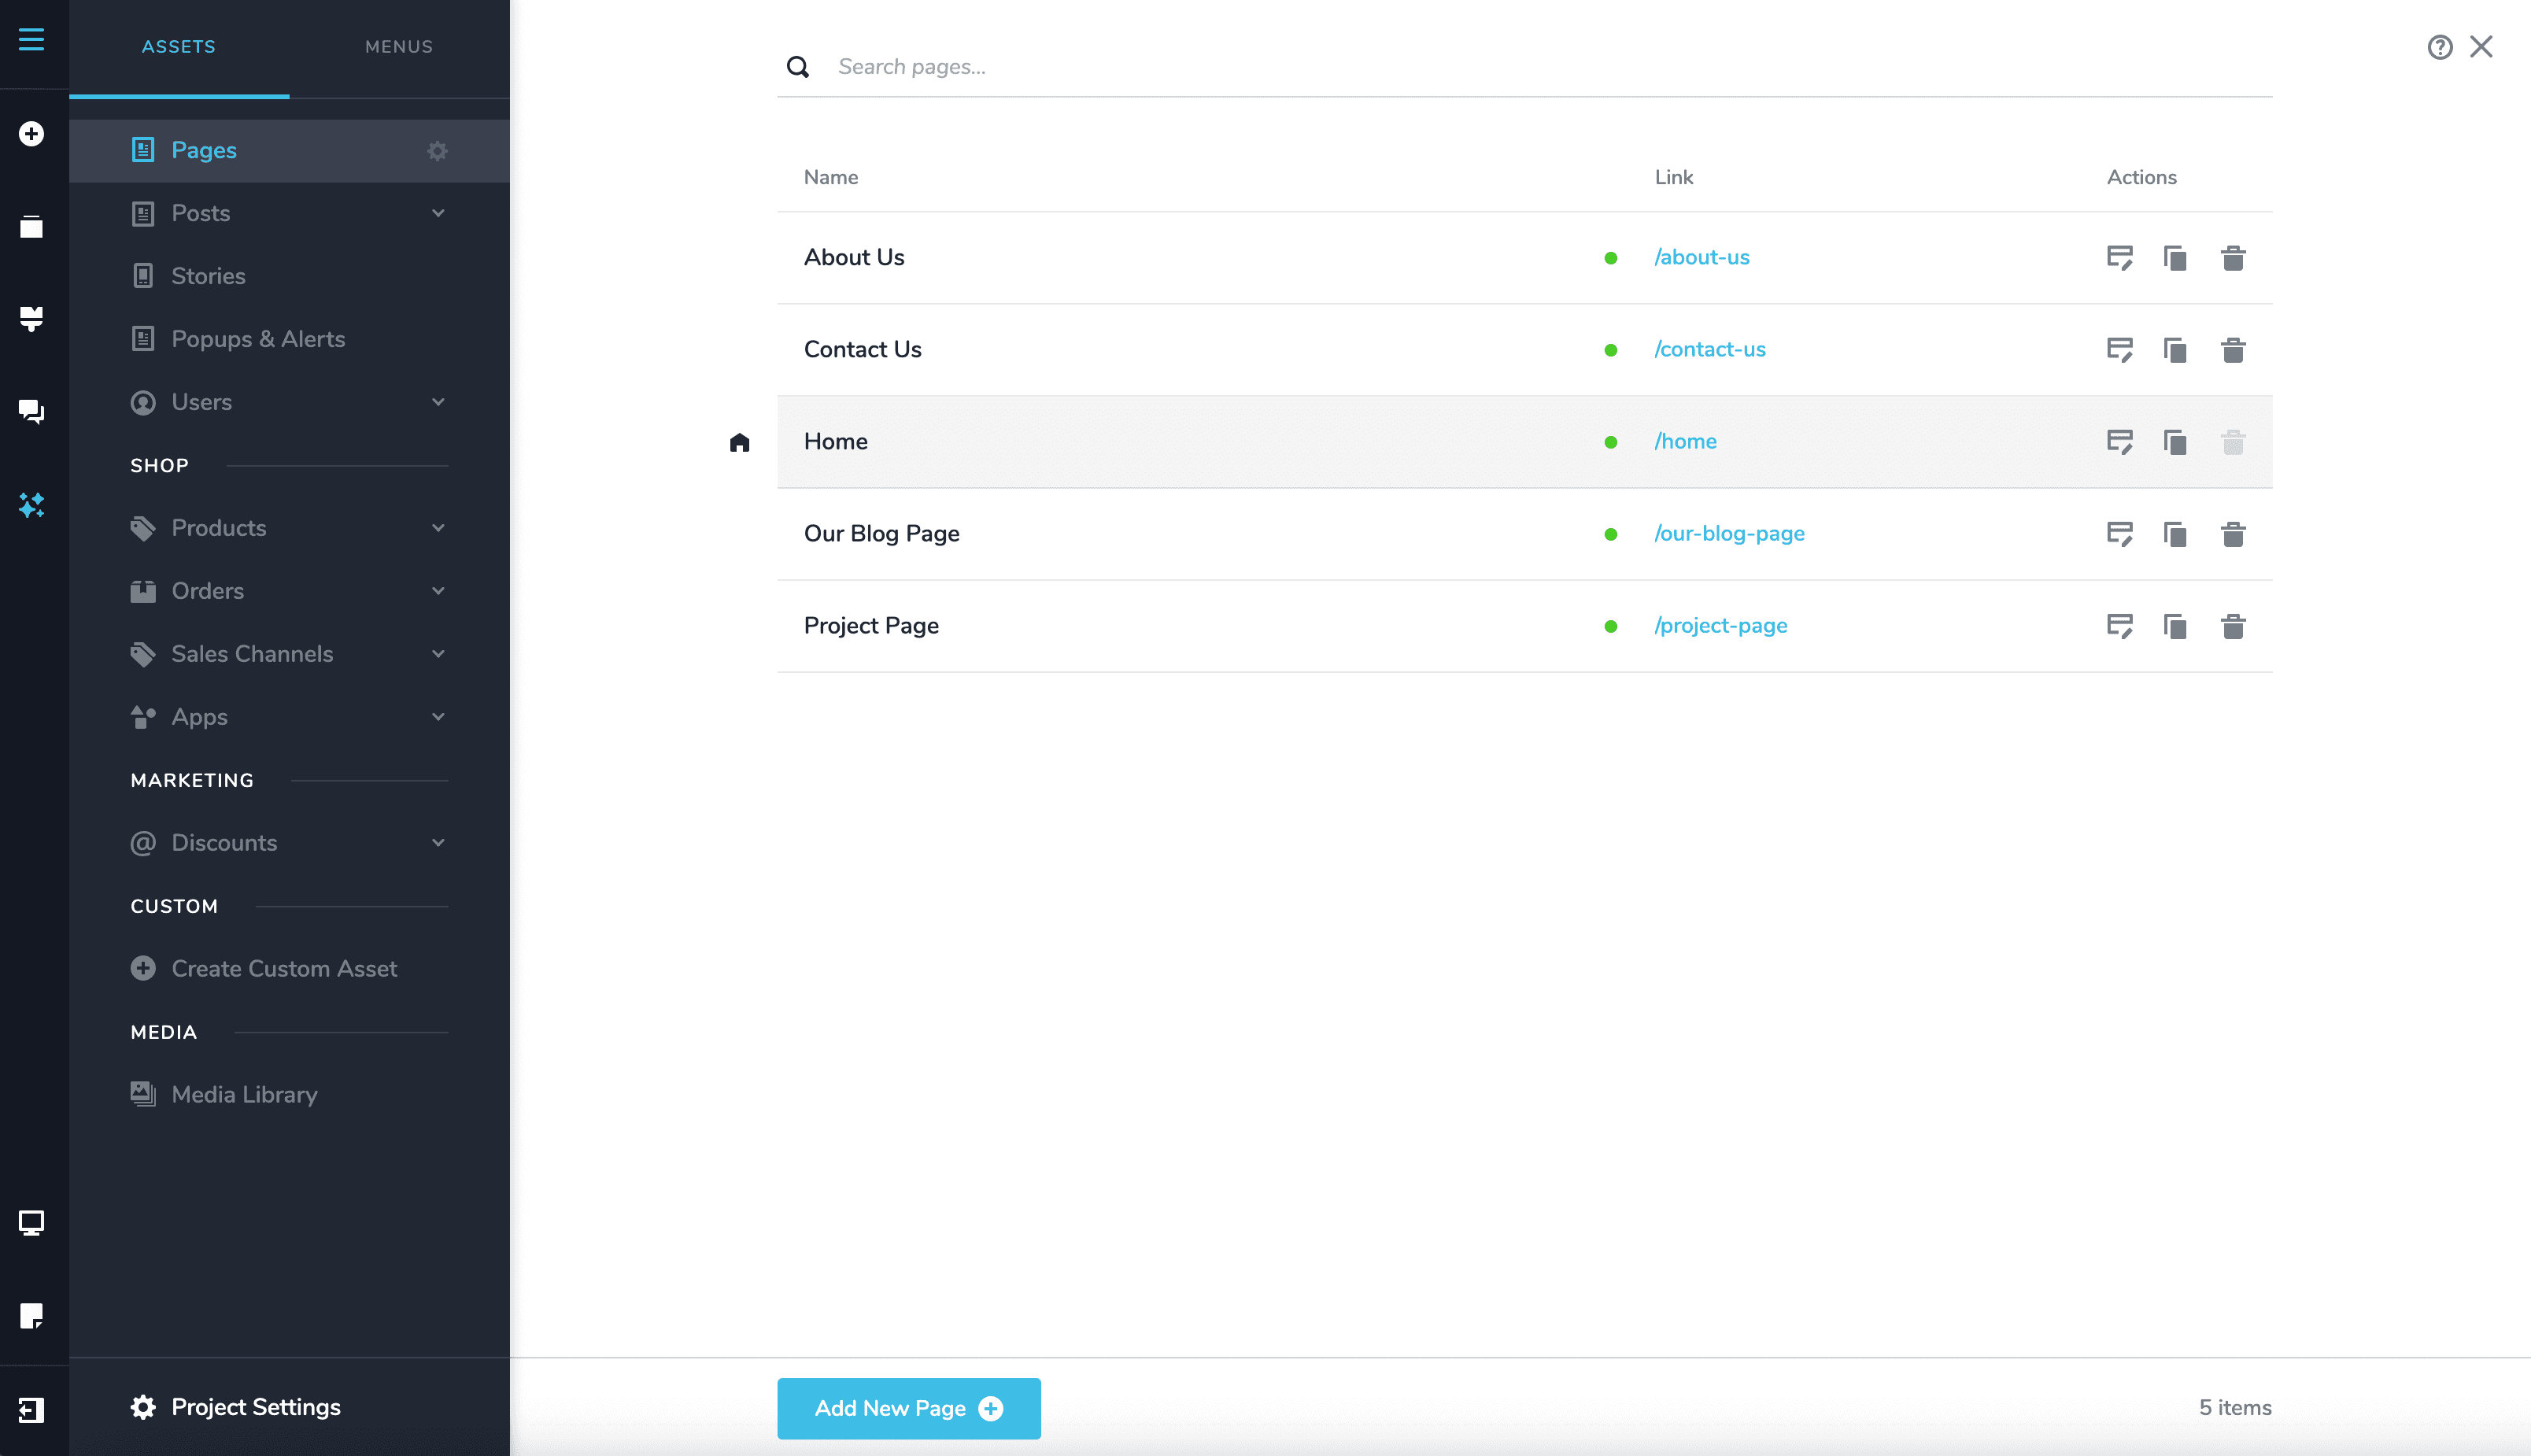
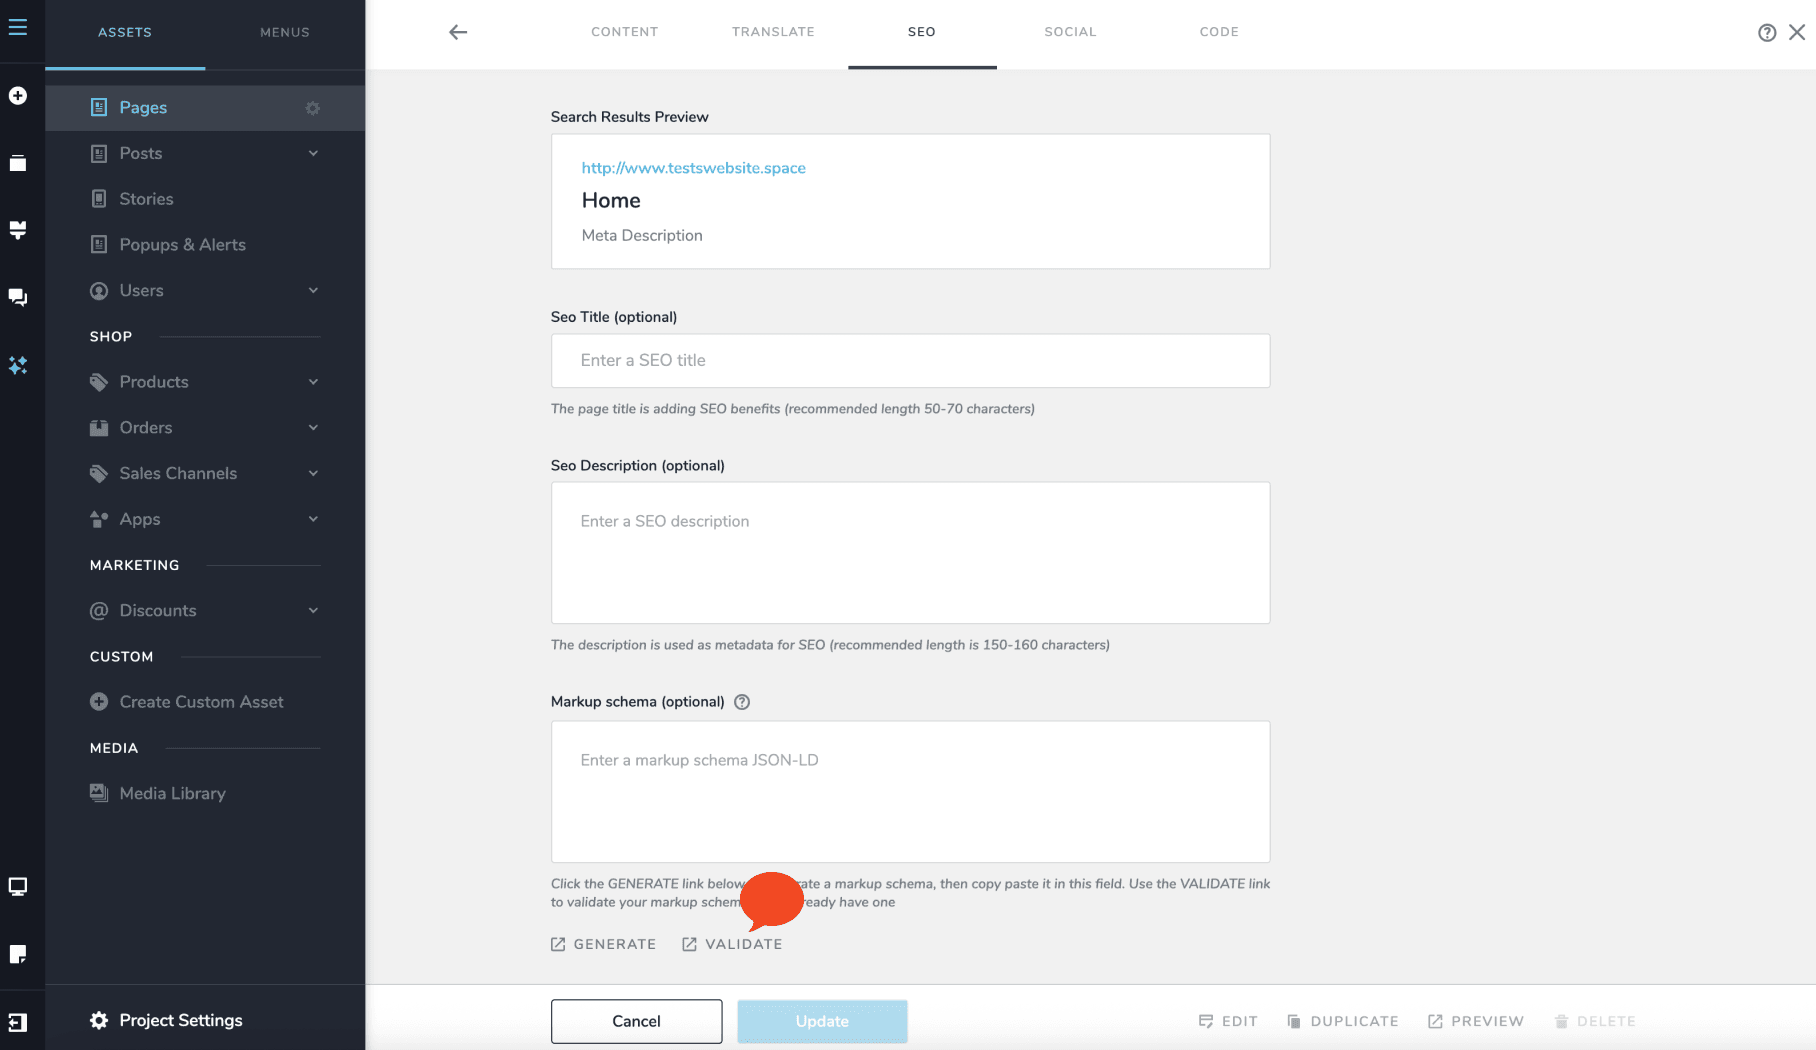
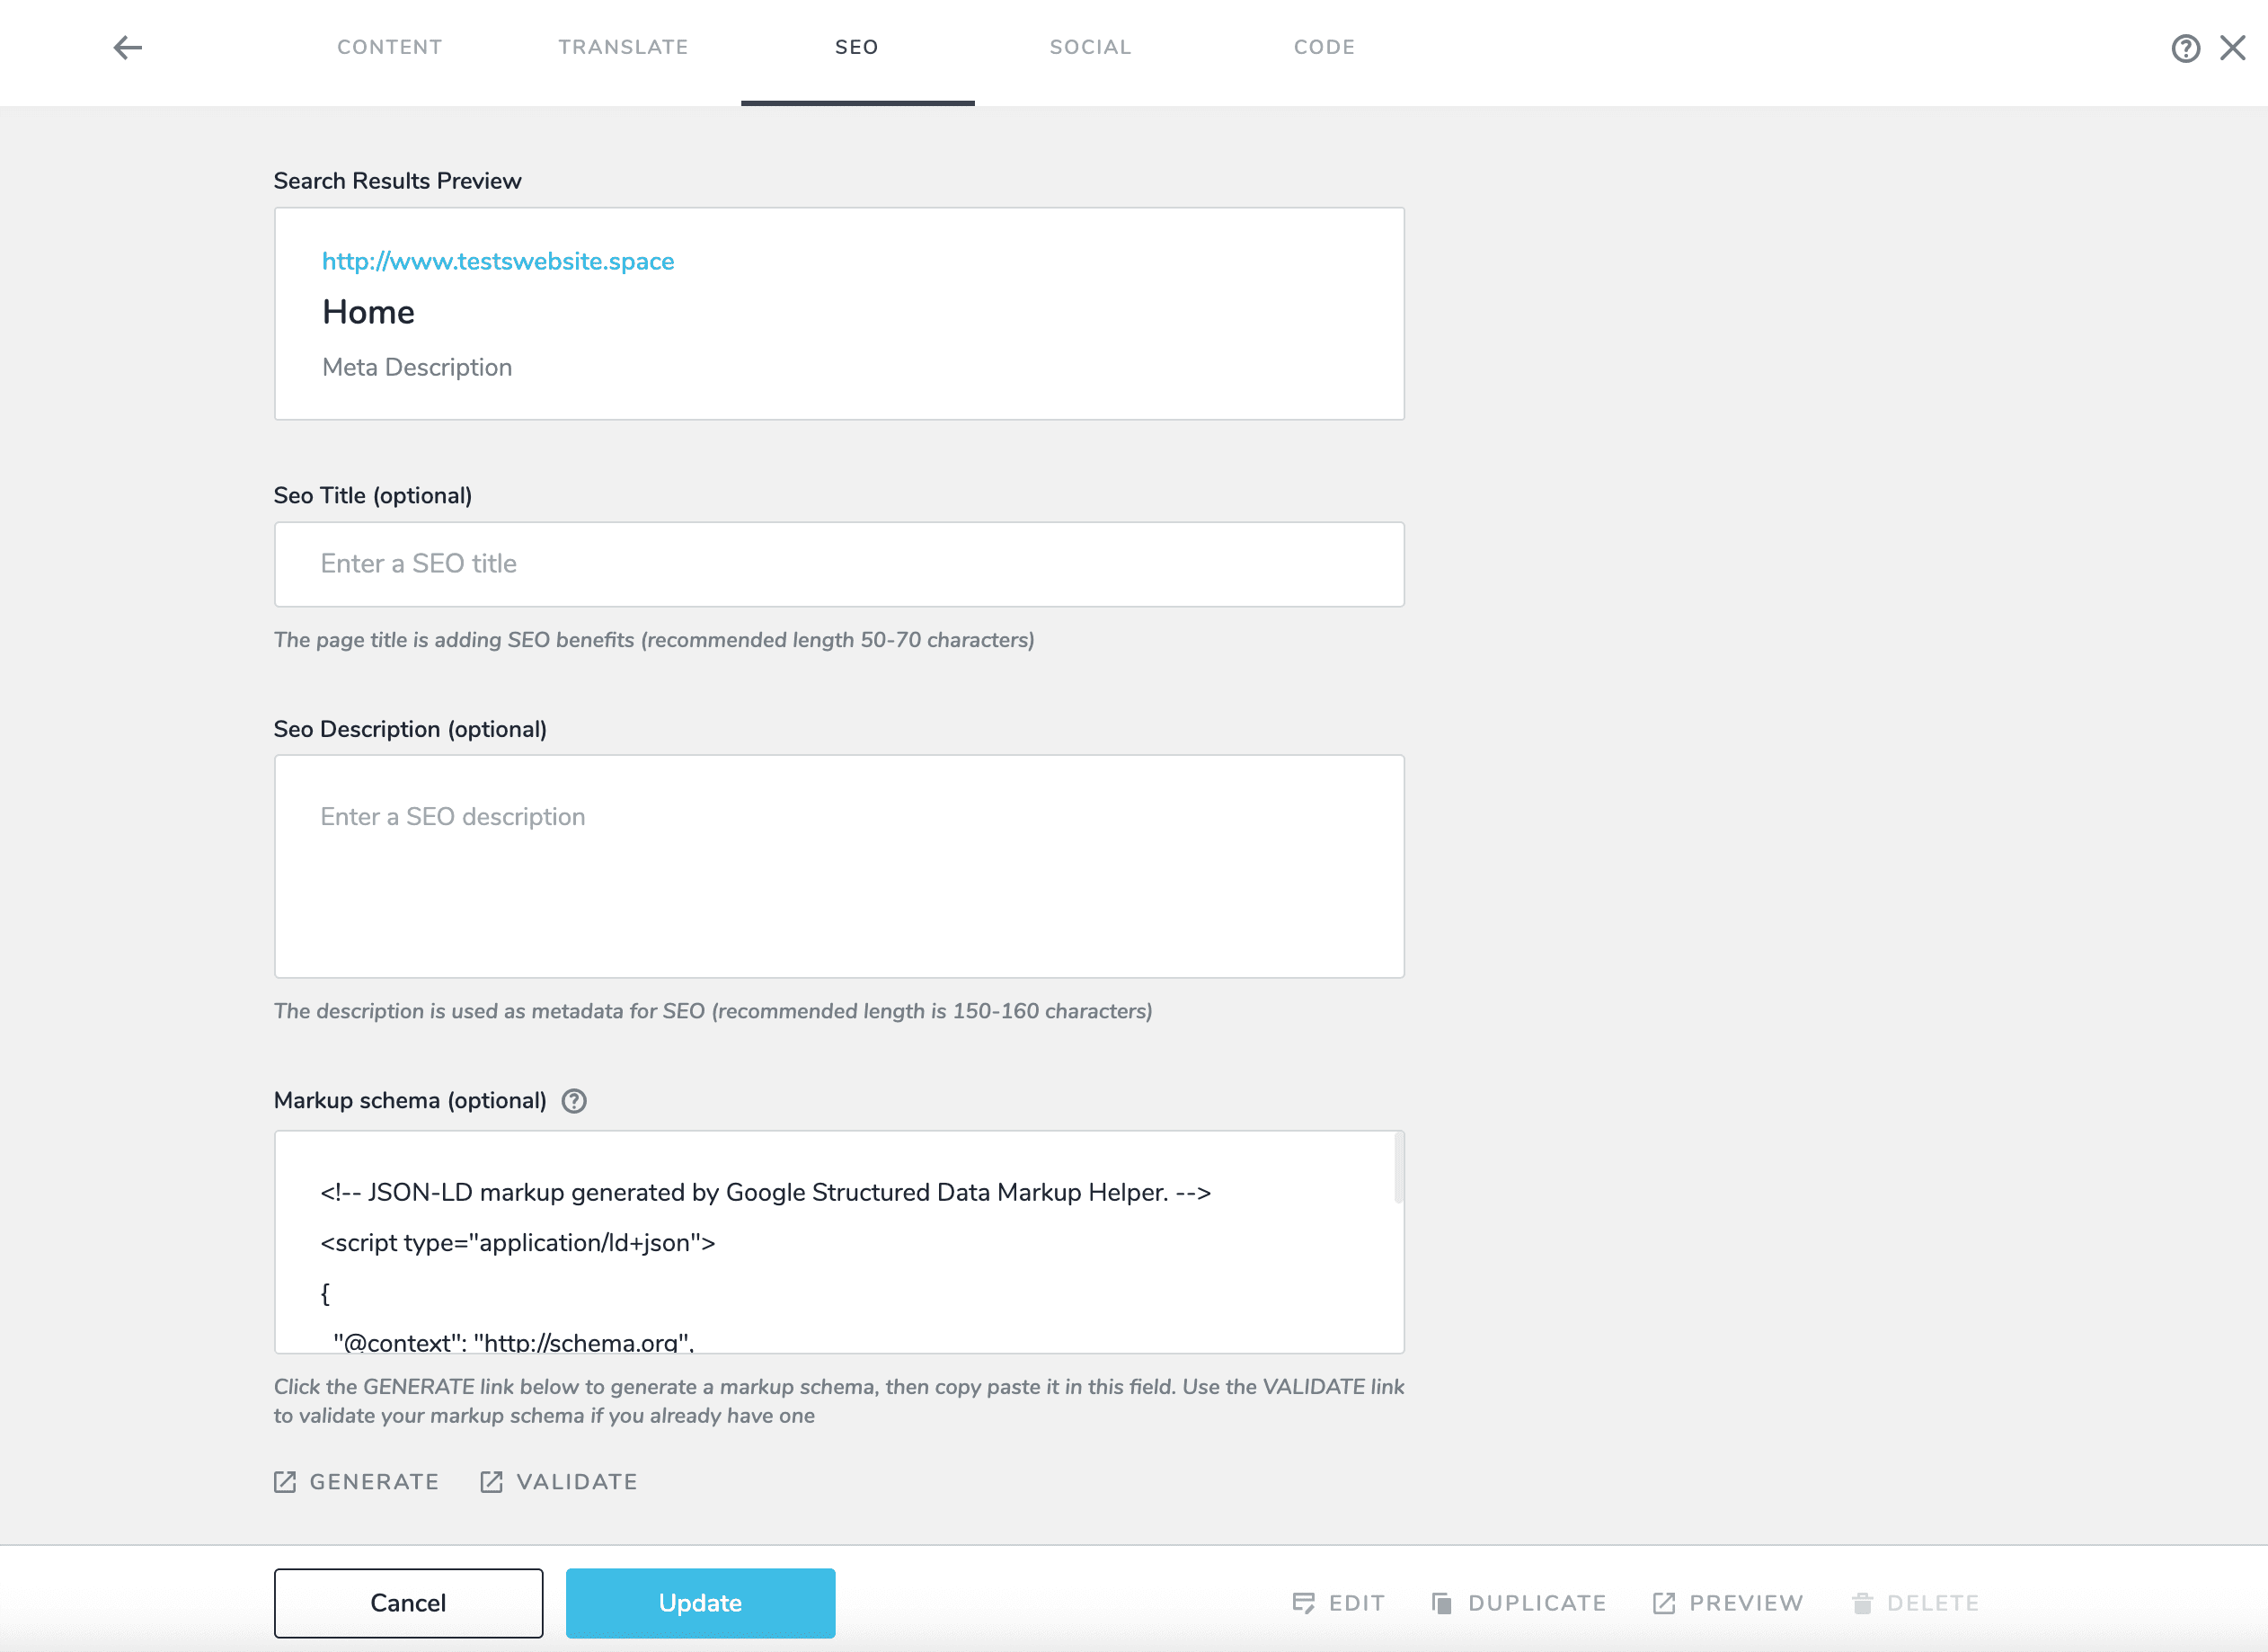
Open the SEO tab and click Generate
Select the SEO tab, scroll down to the Markup schema field, and click Generate.
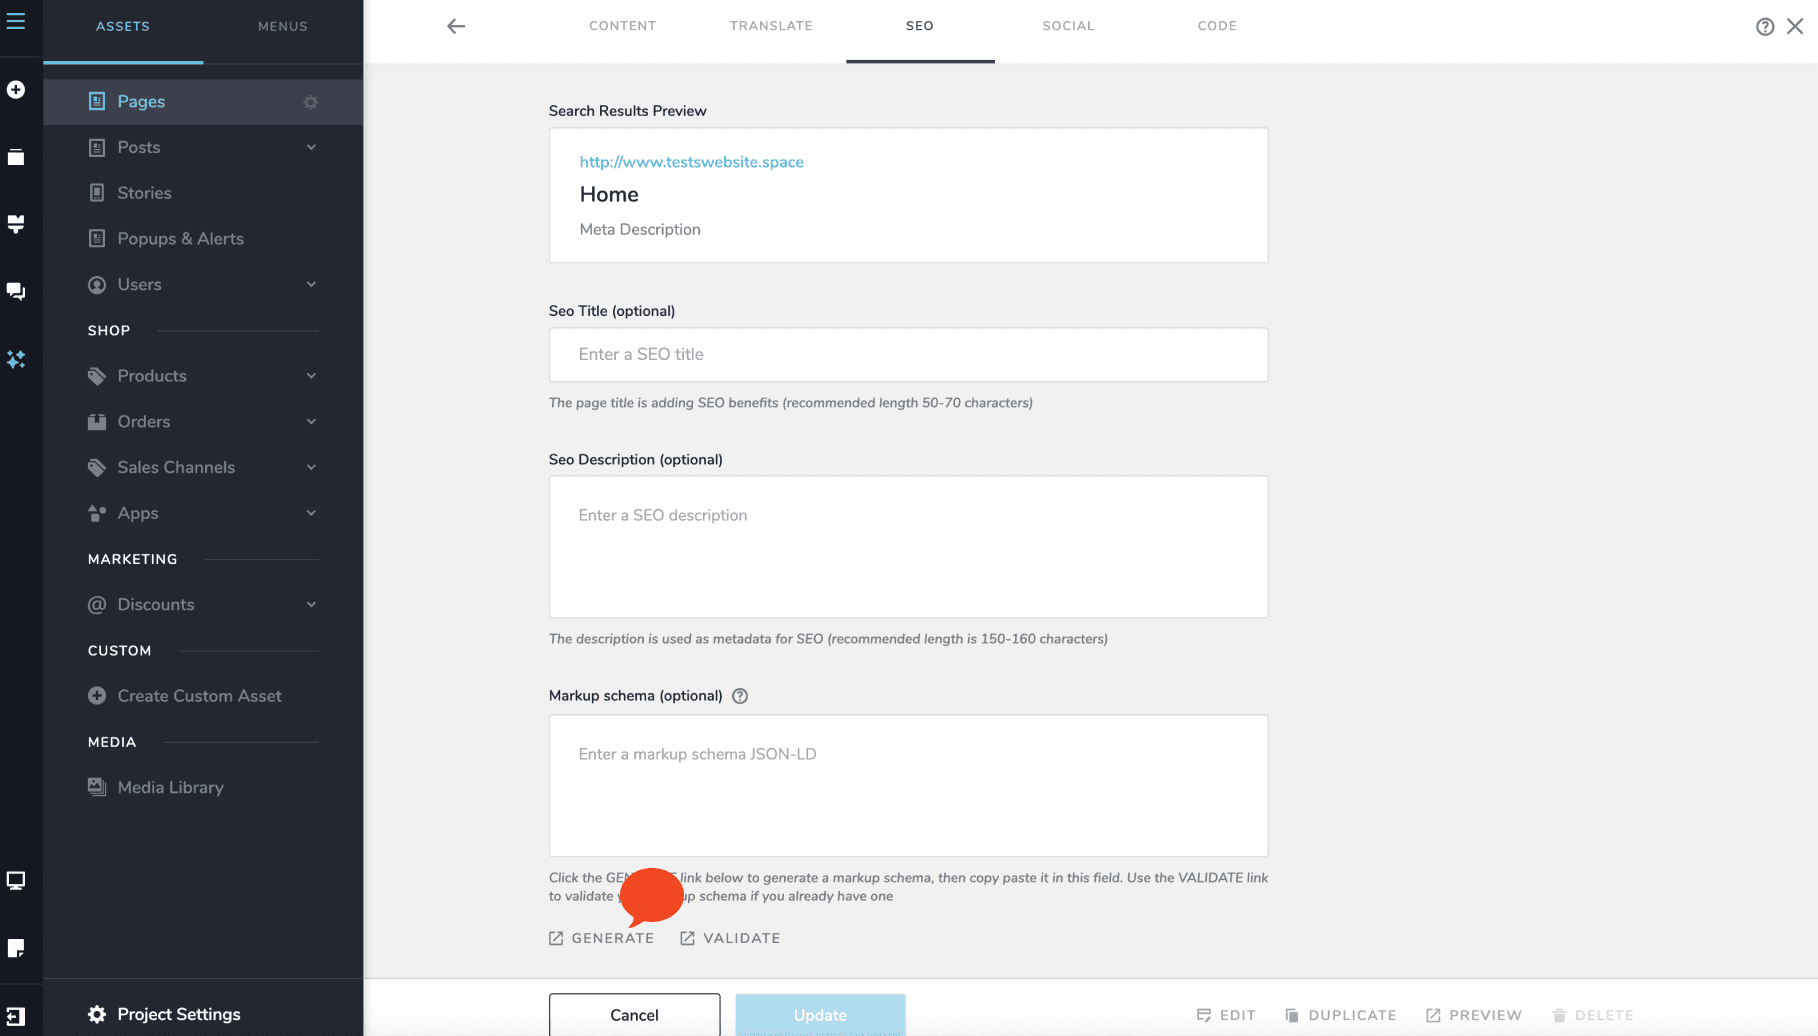
Part 2 — tag your page in Google’s helper
Google’s Structured Data Markup Helper opens in a new tab.
Choose a data type
You will see a list of 12 data types. Pick the one matching your page’s content.
For blog posts and ordinary pages such as Home, About and Contact, choose Article.
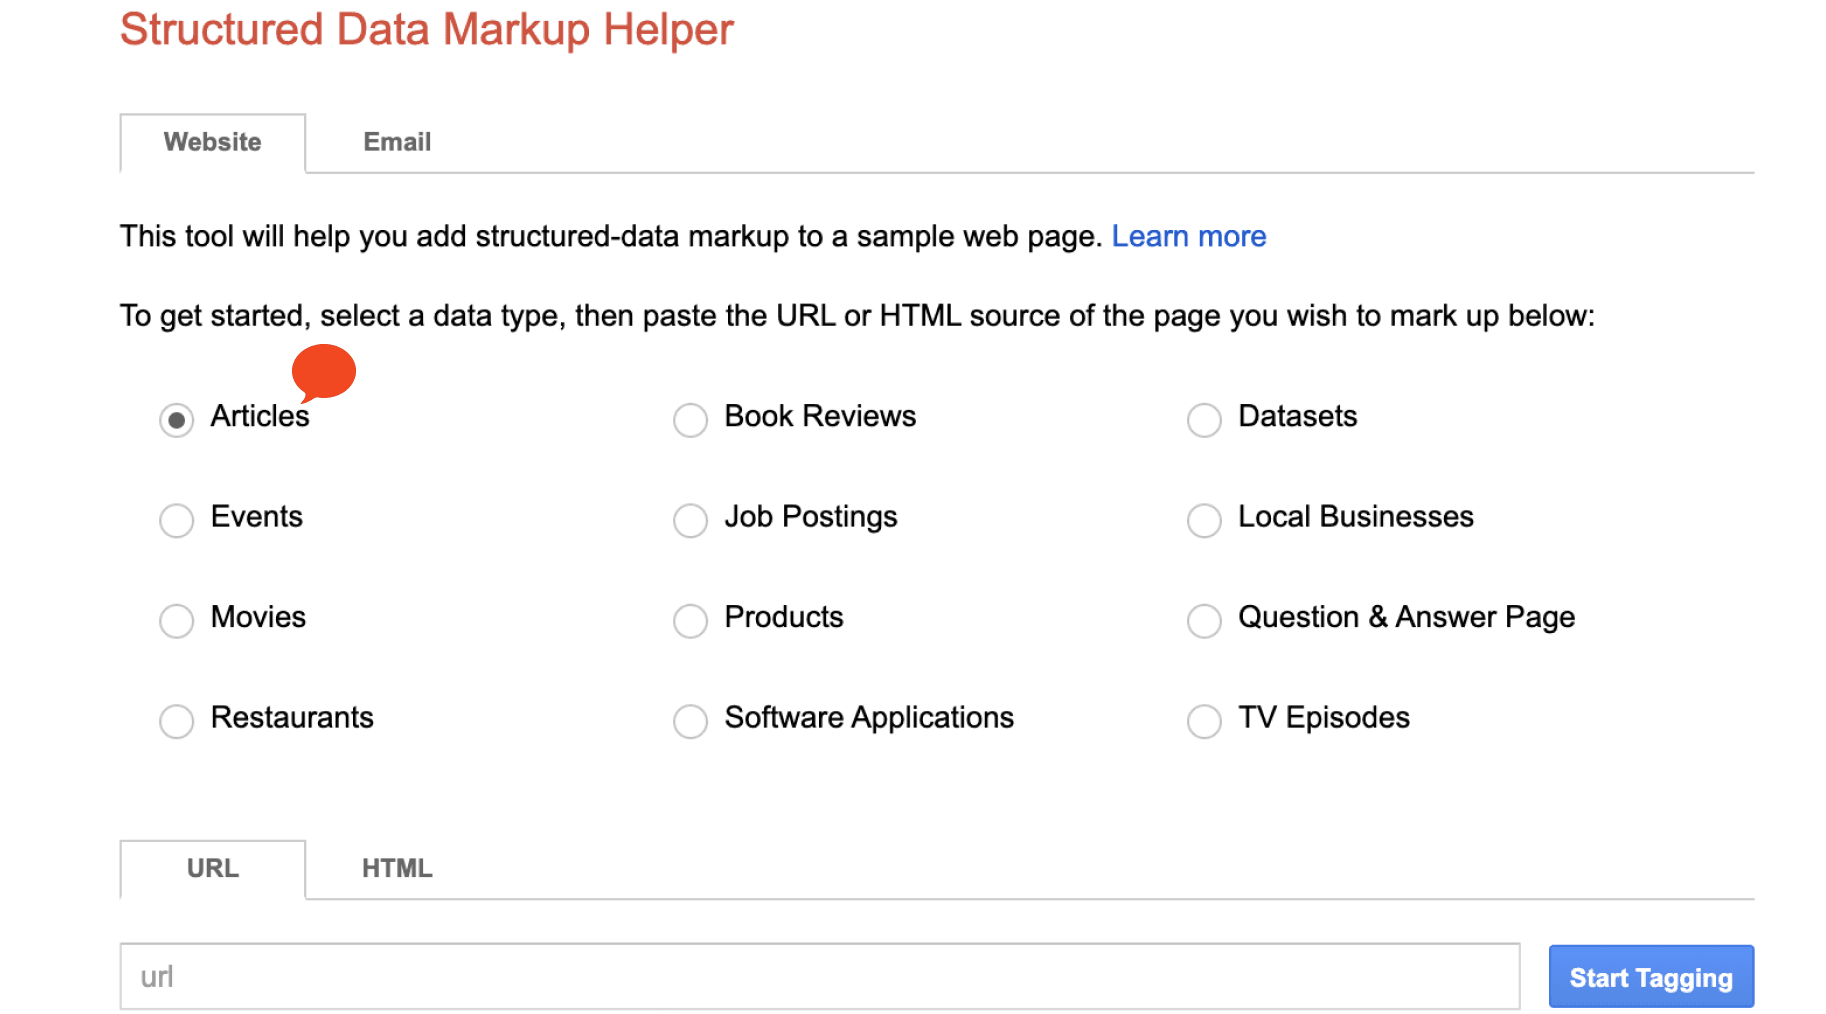
The options in the following steps change depending on the type you pick.
Paste your page address and start
Copy the public web address of your page, paste it into the URL field, and click Start Tagging.
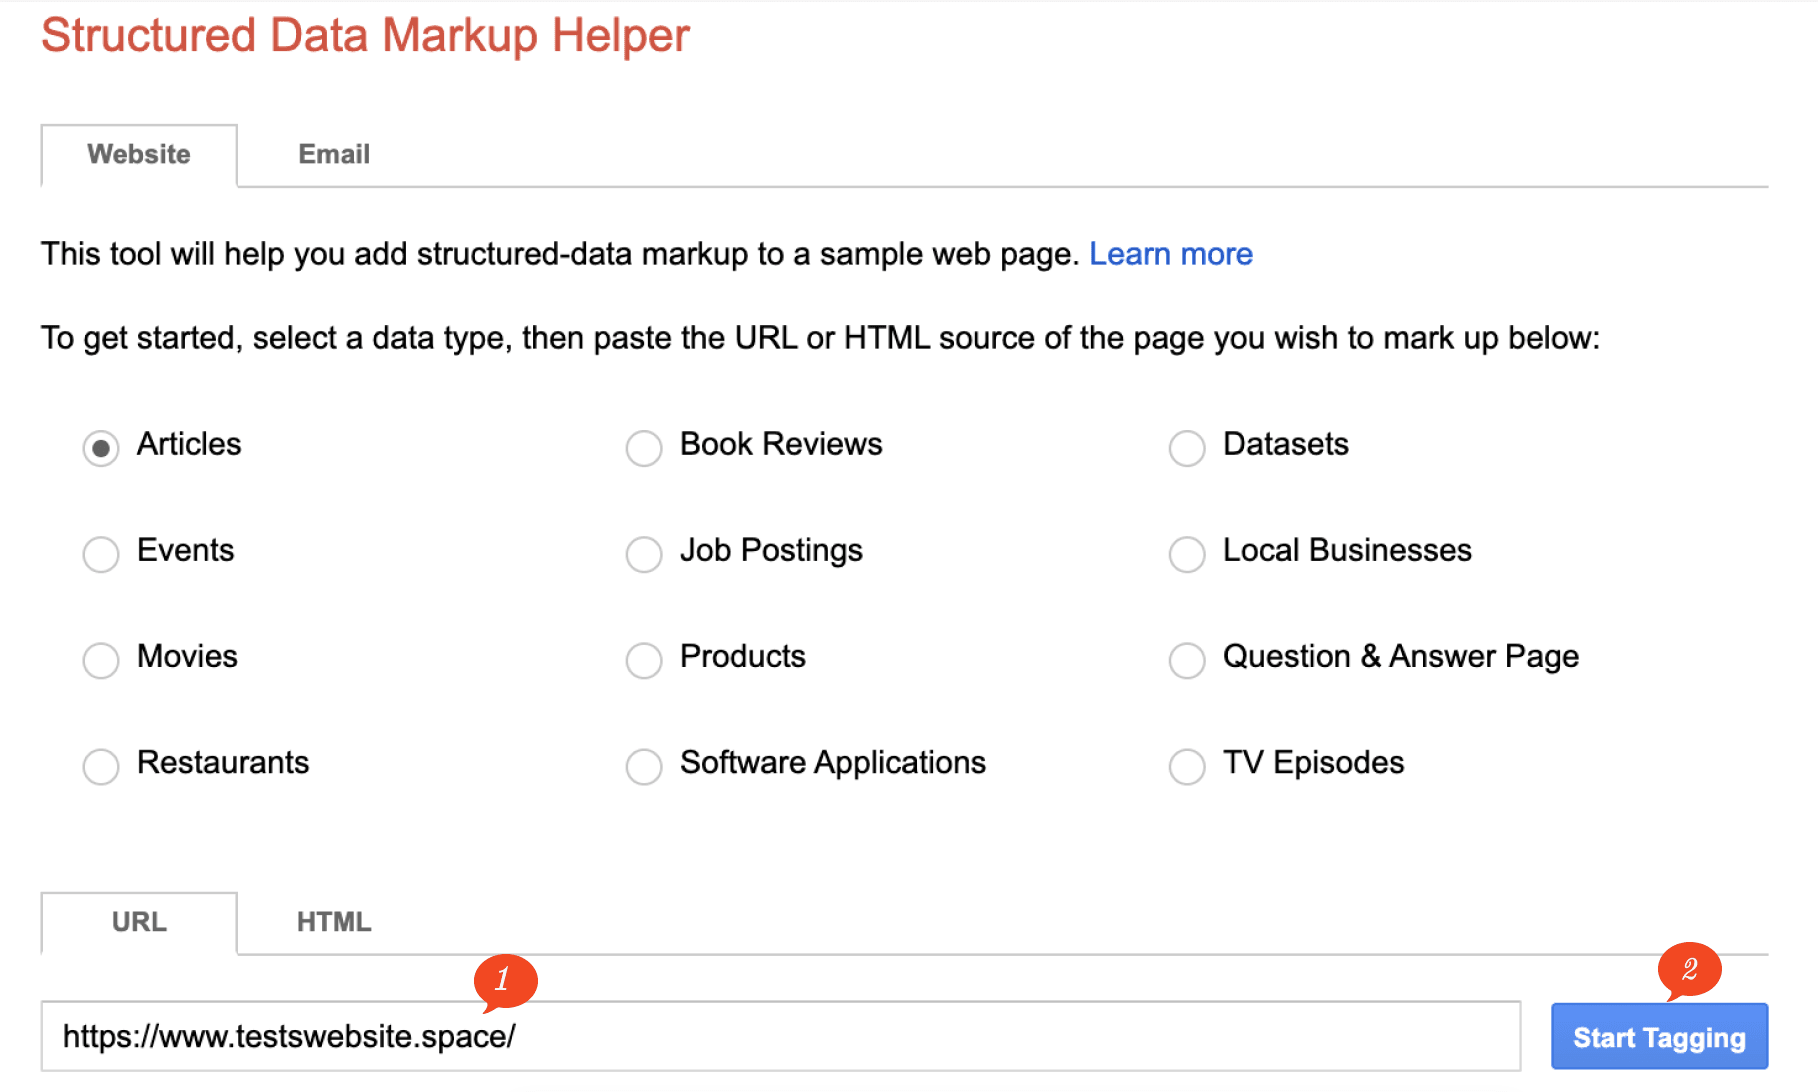
Tag the page content
The tagger opens with your page shown in the left pane. Tagging means highlighting something on the page with your mouse and telling Google what it is.
To start tagging the selected webpage, scroll down the left pane until you see the webpage design. Highlight the page title using your mouse and assign the Title tag from the drop down list of tags.

The tag appears in the right pane, so you can see what you have done so far. The tags you have not filled in yet stay greyed out.
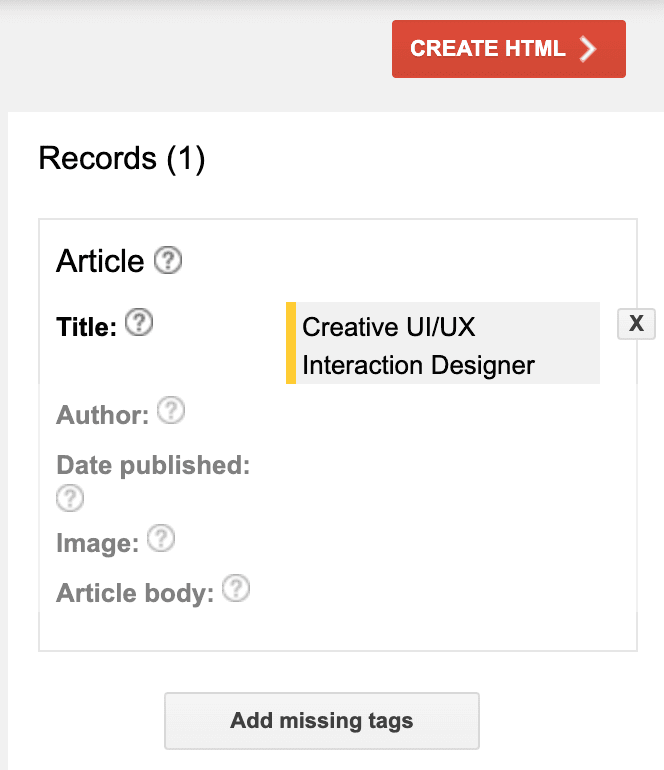
Now work through the rest the same way — highlight, then pick the tag:
| Highlight this | Assign this tag | Notes |
|---|---|---|
| The page title | Title | Always do this one |
| The author name | Author | Skip if your page shows no author |
| The publication date | Date published | Then choose Date/Time |
| The featured image | Image | Skip if there is no image |
| The article text | Article body | See the note below |
An example. Here Title, Image and Article body have all been tagged. Author and Date published are still greyed out, because this page does not show either — which is fine.
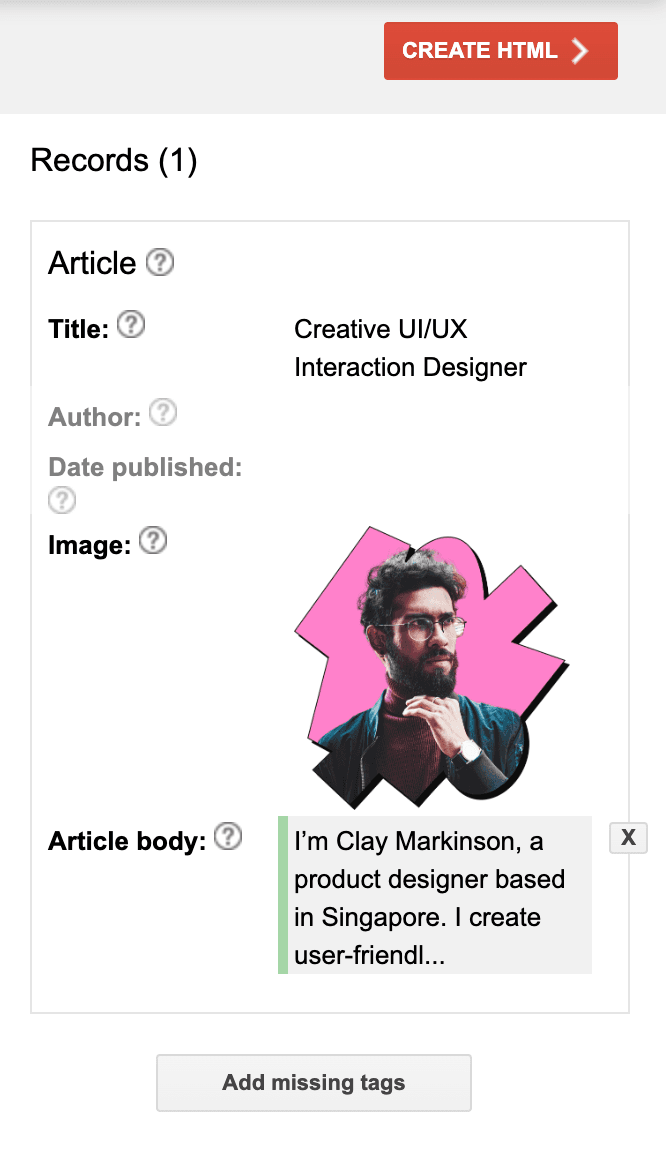
If your mouse cannot select the whole article text in one go, select it in sections and tag each section as Article body. Several Article body tags are fine.
Create the code
When you have finished tagging, click Create HTML towards the top right corner.
Copy the code
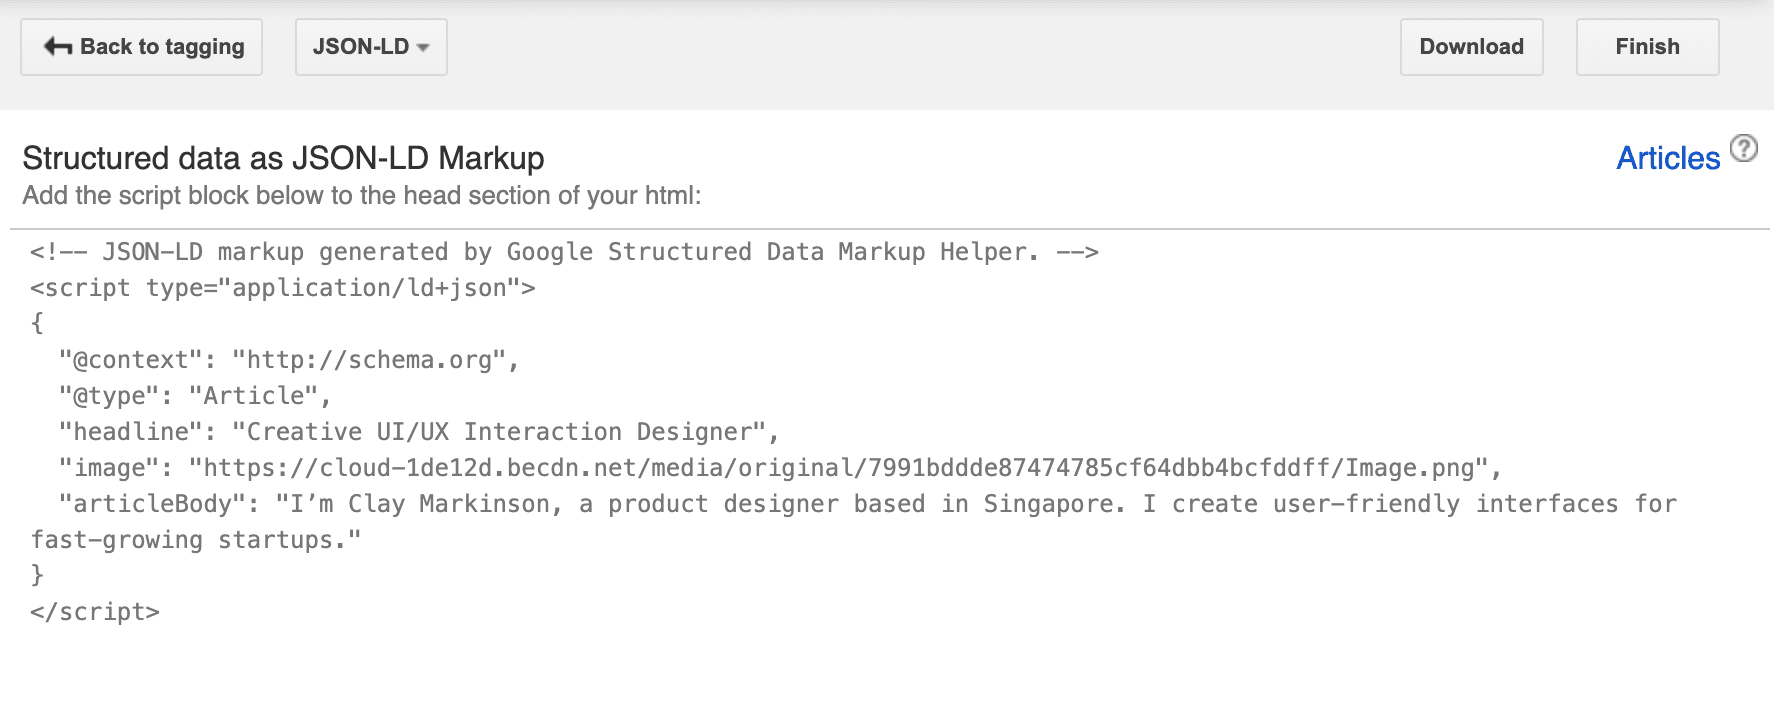
The helper generates JSON-LD markup code for your page. Highlight the code and copy it with Ctrl-C, or Cmd-C on a Mac.
Part 3 — check it, then save it
Do not skip the check. Invalid markup is worse than none — Google ignores the page rather than guessing.
Open the validator
Switch back to the builder tab and click Validate.
Test the code
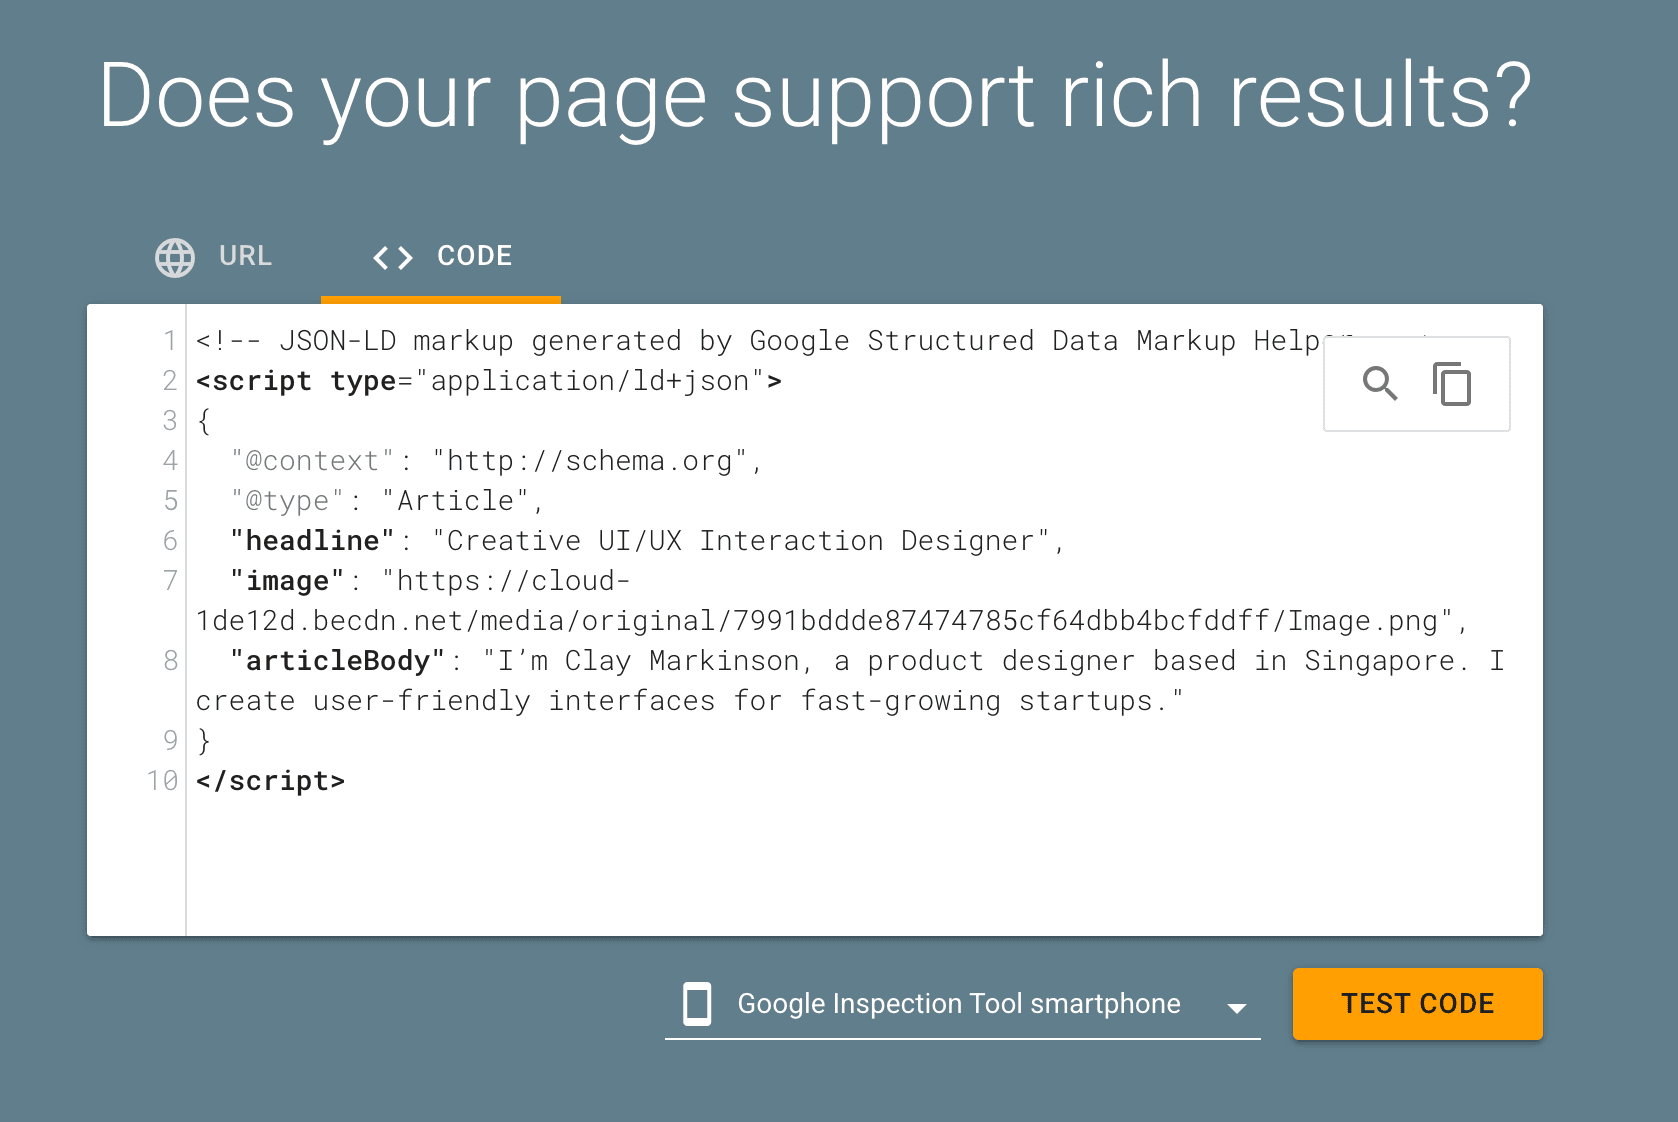
On the Rich Results test page, select the Code tab, paste your JSON-LD code, and click Test Code.
Check the result
If the code is valid you will see 1 valid item detected.
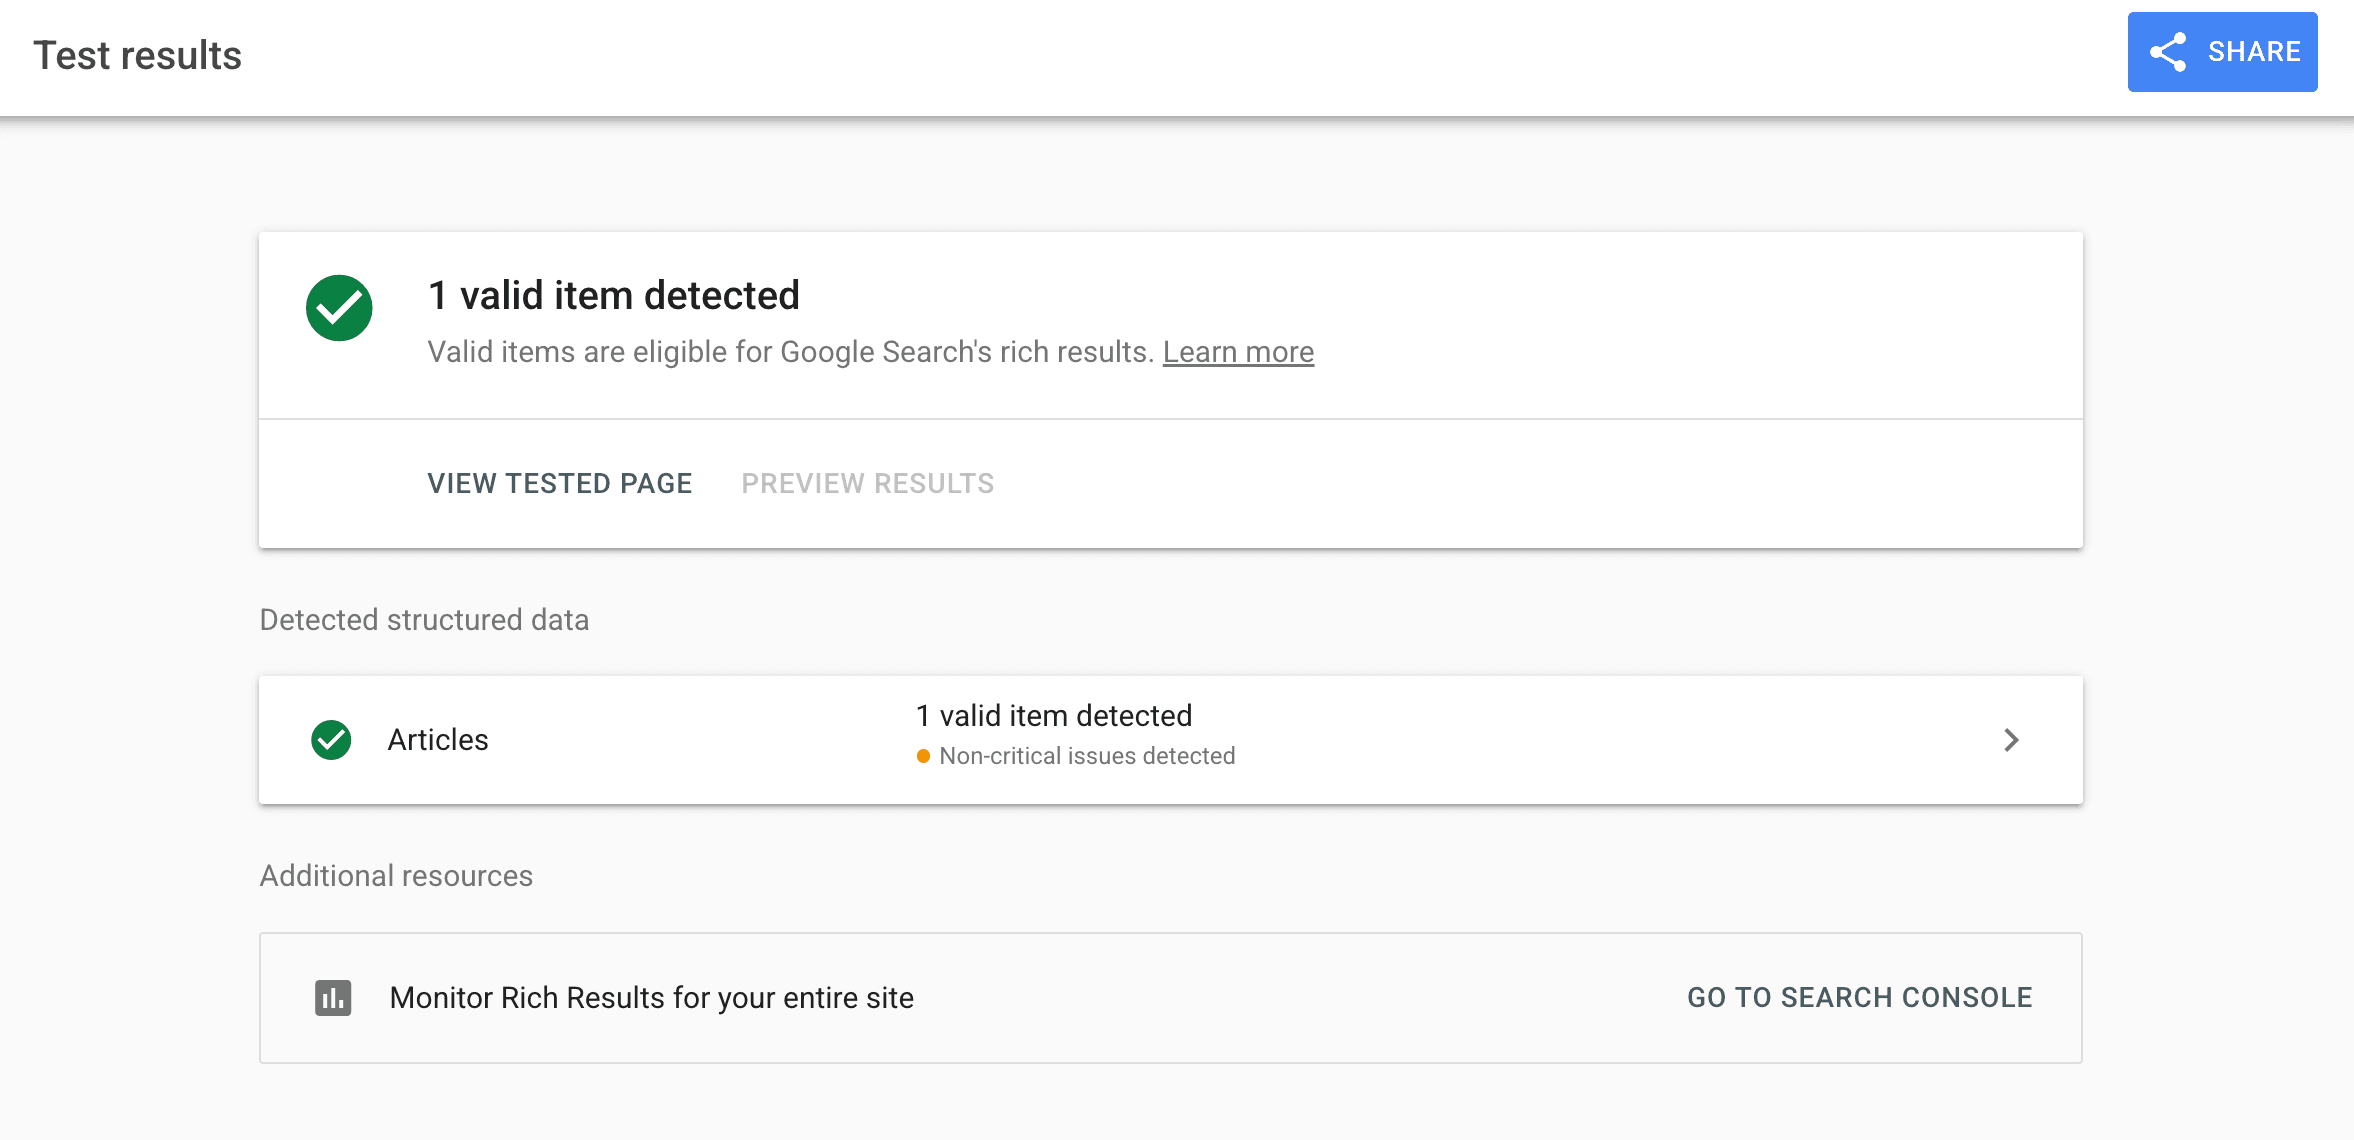
If it reports errors, go back to the tagger and check your tags before continuing.
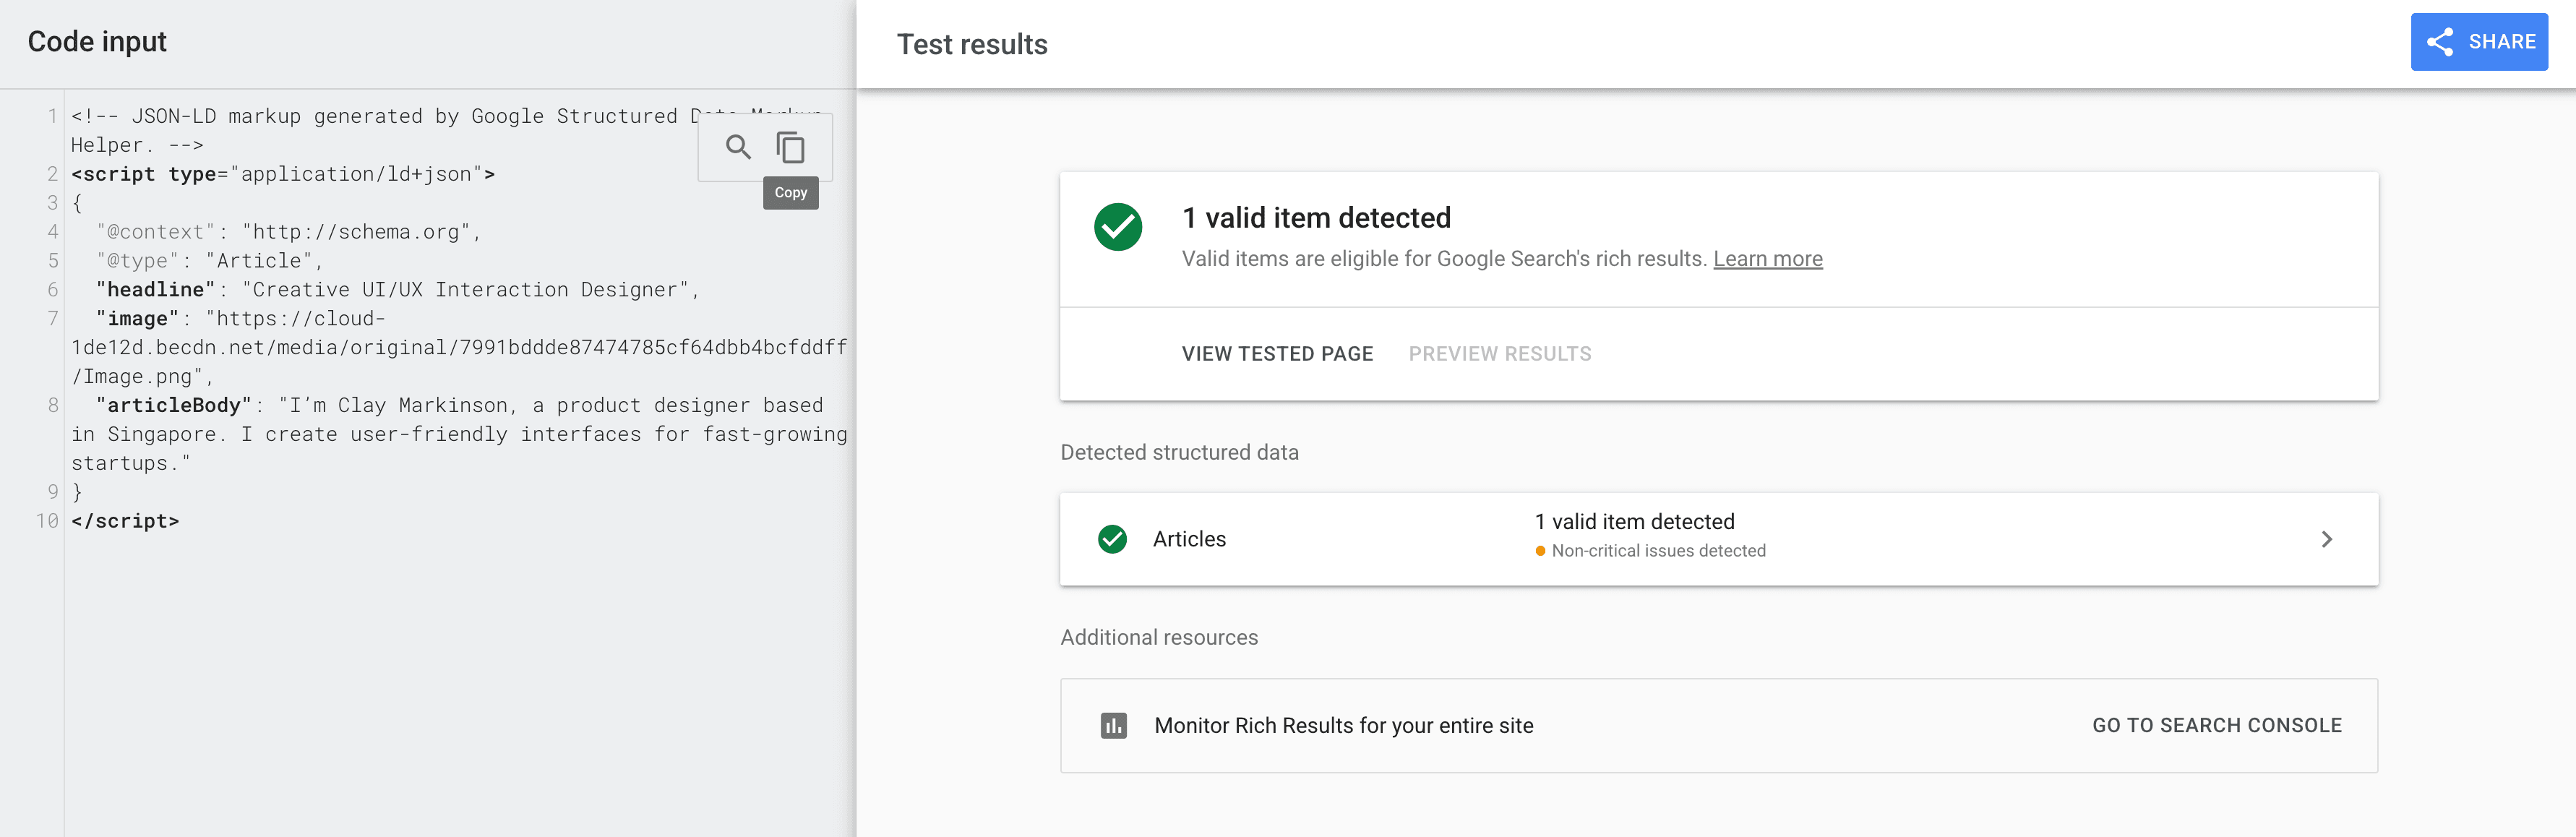
Copy the checked code
Click Copy on the left pane.
Paste it into your page and save
Switch back to the builder tab, paste the code into the Markup schema field, and click Update to save your work.
Worth knowing
Markup does not change how your page looks. Nothing moves on the page. It only changes what search engines understand about it.
Results are not instant. Google has to visit your page again before anything shows in search results. That can take days or weeks.
Repeat per page. Each page needs its own markup, so start with the pages that matter most — your main articles and service pages.
See also Getting found on Google.