Dynamic Elements
Dynamic Elements allow you to connect your layout directly to structured content stored in the CMS, automatically pulling specific data from asset fields into the front end. Instead of manually updating text, images, or links each time content changes, dynamic elements ensure that your design remains synchronized with your assets, whether they are blog posts, pages, or advanced custom assets. While dynamic functionality exists in multiple widgets across the builder, this article focuses on the three core dynamic types: images, text, and links, which form the foundation for displaying CMS-driven content.
Dynamic Images
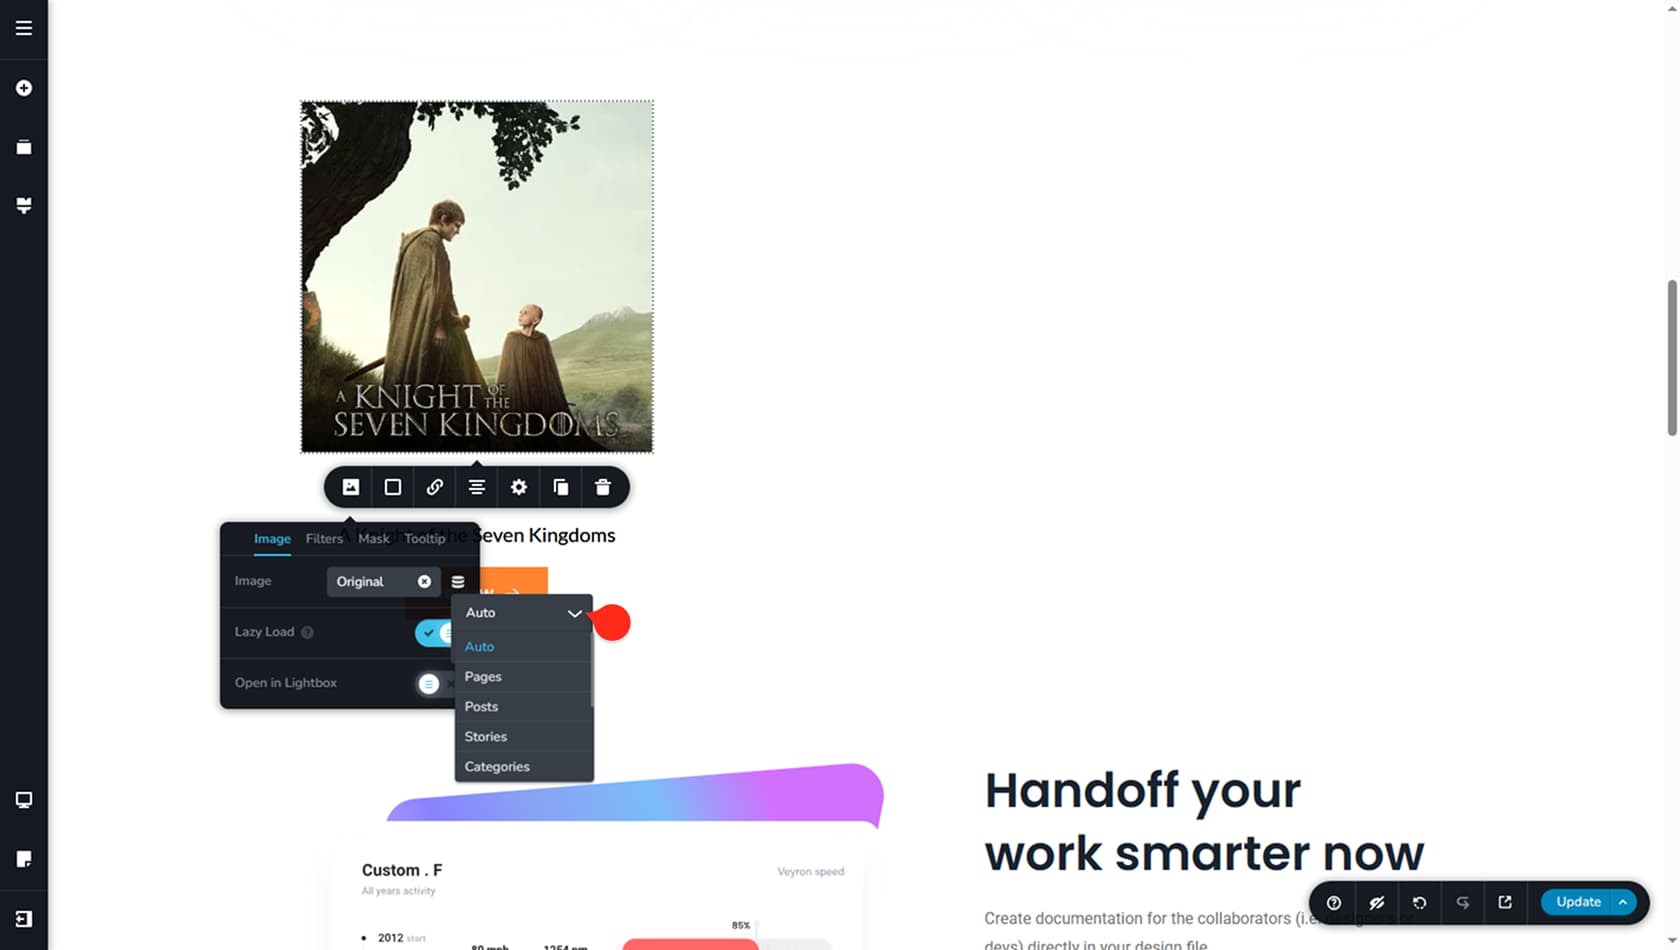
To set an image dynamically from CMS content, first drag and drop an Image widget into your layout. Open its toolbar, select the left-most icon, and go to the Image tab. Instead of choosing an image from the Media Library, click the dynamic icon located to the right of the source field.
You will see two dropdown menus. The first is set to Auto by default and determines which asset type the image should be pulled from.
If the Image widget is placed inside a Posts widget, the Auto setting will automatically retrieve the image from the asset type defined in the Posts widget source. If you are using a standalone Image widget, you must manually select the asset type, such as Pages, Posts, Stories, Categories, or any Custom Assets you have previously created.
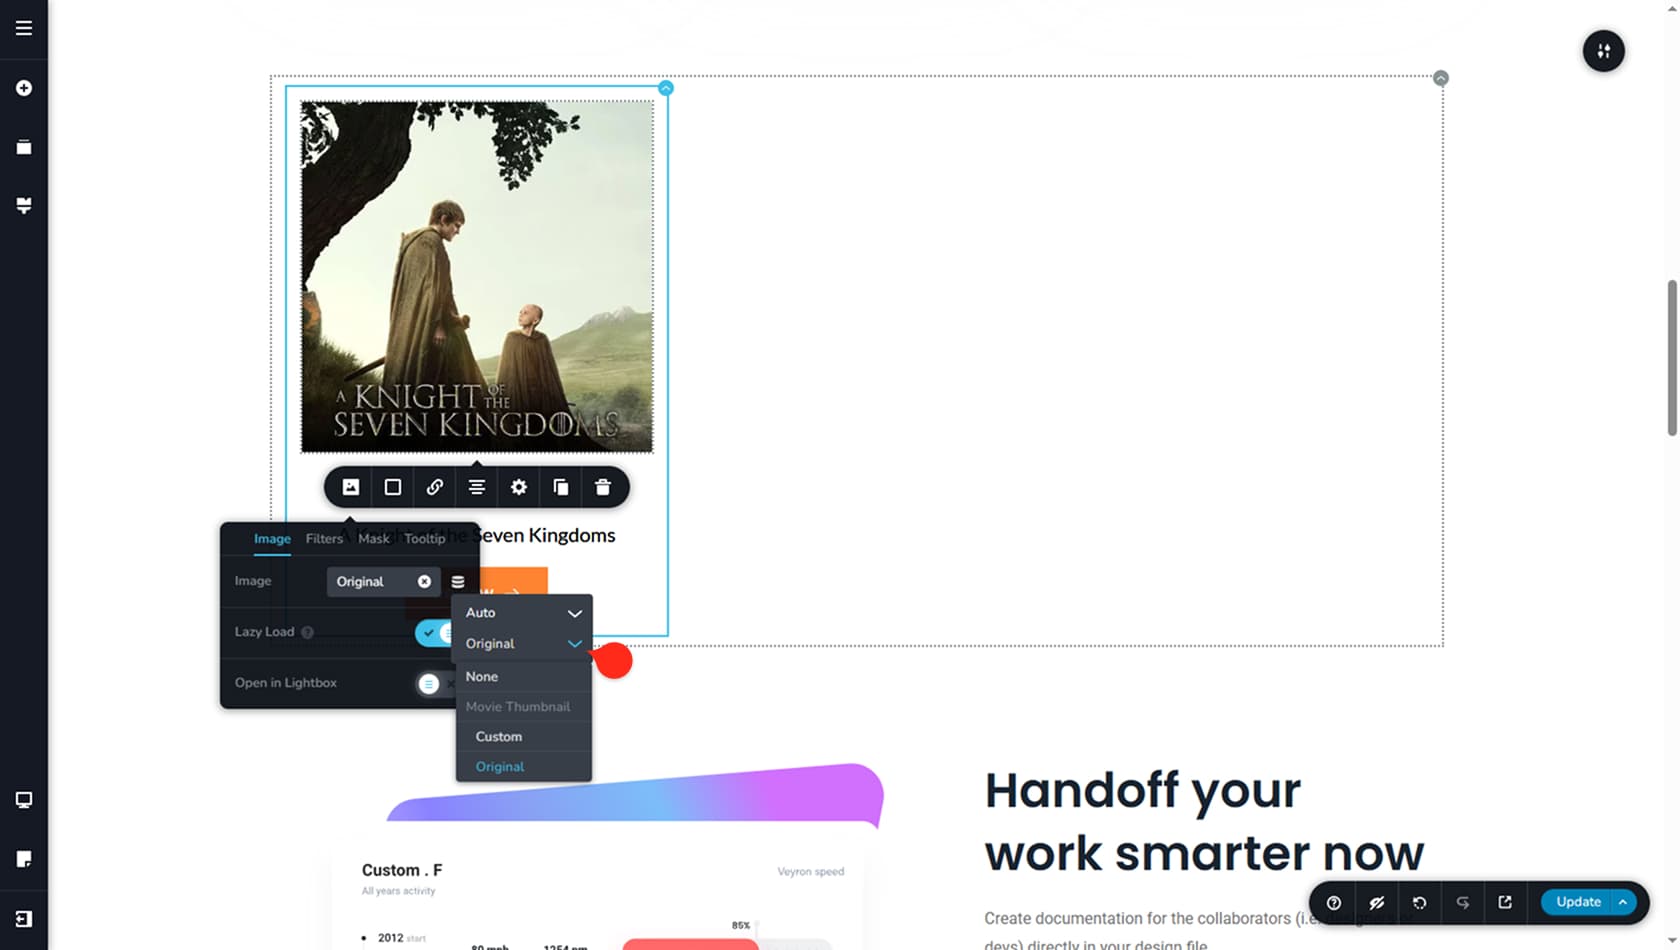
The second dropdown controls the image display mode, allowing you to choose between Original and Custom. Original preserves the image’s native aspect ratio, while Custom lets you adjust its dimensions.
If your Custom Asset contains multiple image fields, you can also select which specific field the image should be pulled from. In our example, the label “Movie Thumbnail” appears above the Custom/Original settings because that is the image field currently selected as the dynamic source.
Dynamic Texts
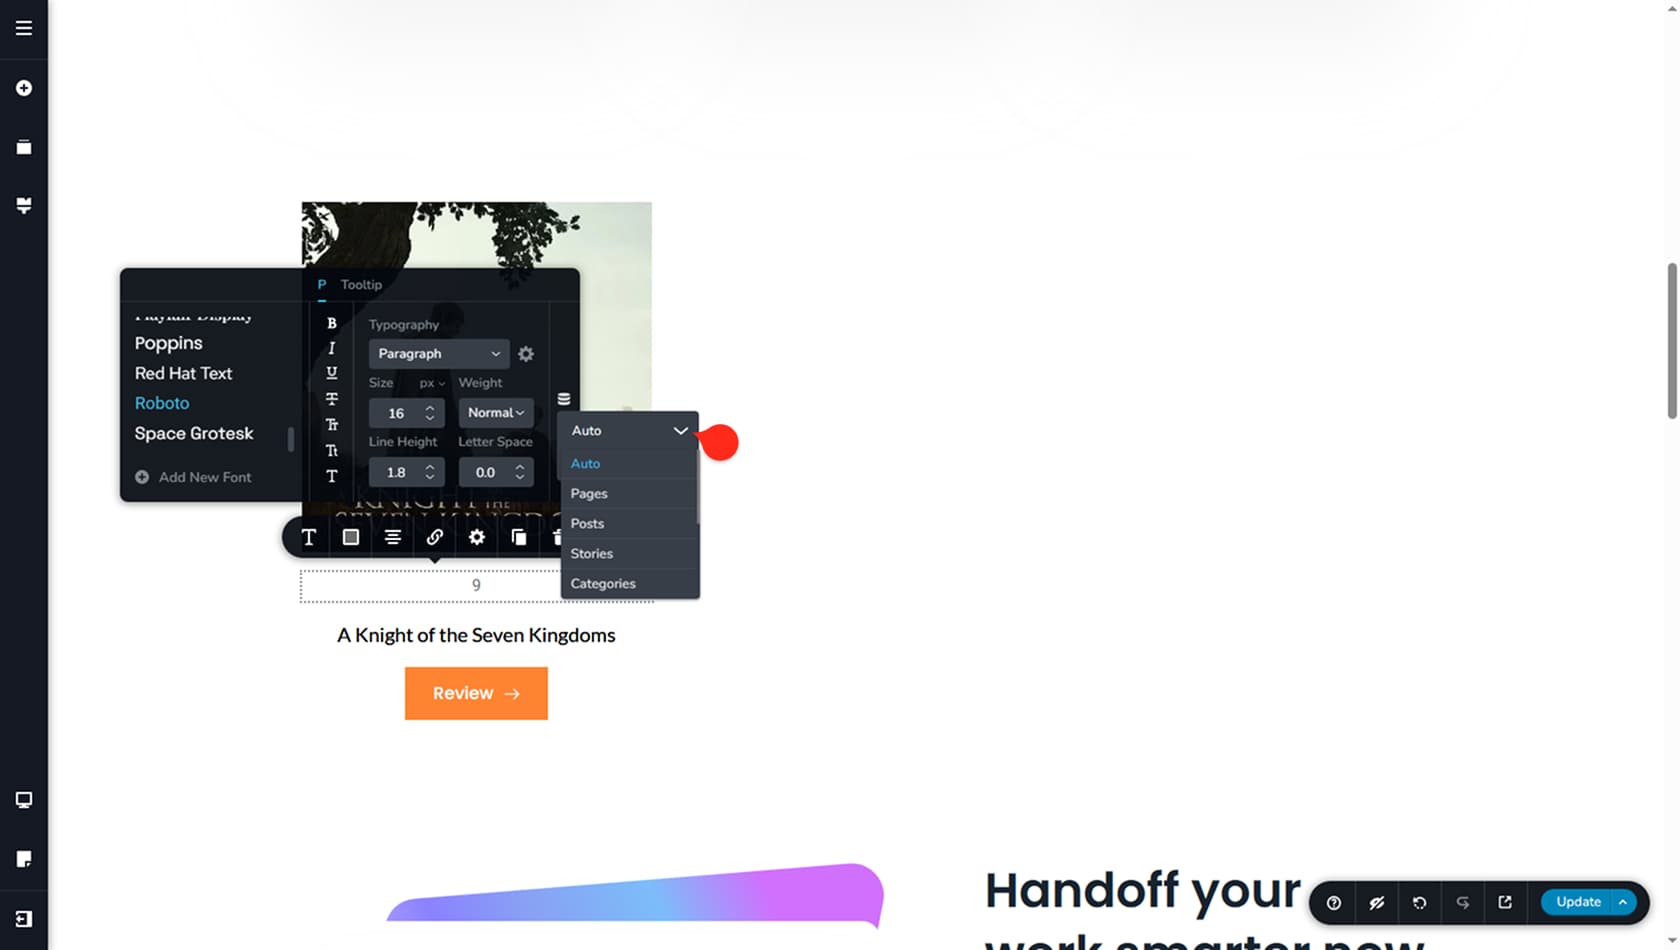
To display dynamic text on the front end, begin by dragging and dropping a Text widget into your layout. Click the widget, then select the left-most icon in the toolbar to open the Typography panel. On the right side of this panel, you will find the Dynamic icon. Clicking it opens a configuration panel with two dropdown menus. The first dropdown defines which asset type the text should be pulled from.
If the Text widget is placed inside a Posts widget, the Automatic option will use the asset type defined in the widget’s source settings. Alternatively, you can manually select a different asset type such as Pages, Posts, Stories, Categories, or any Custom Asset type you have created in the CMS.
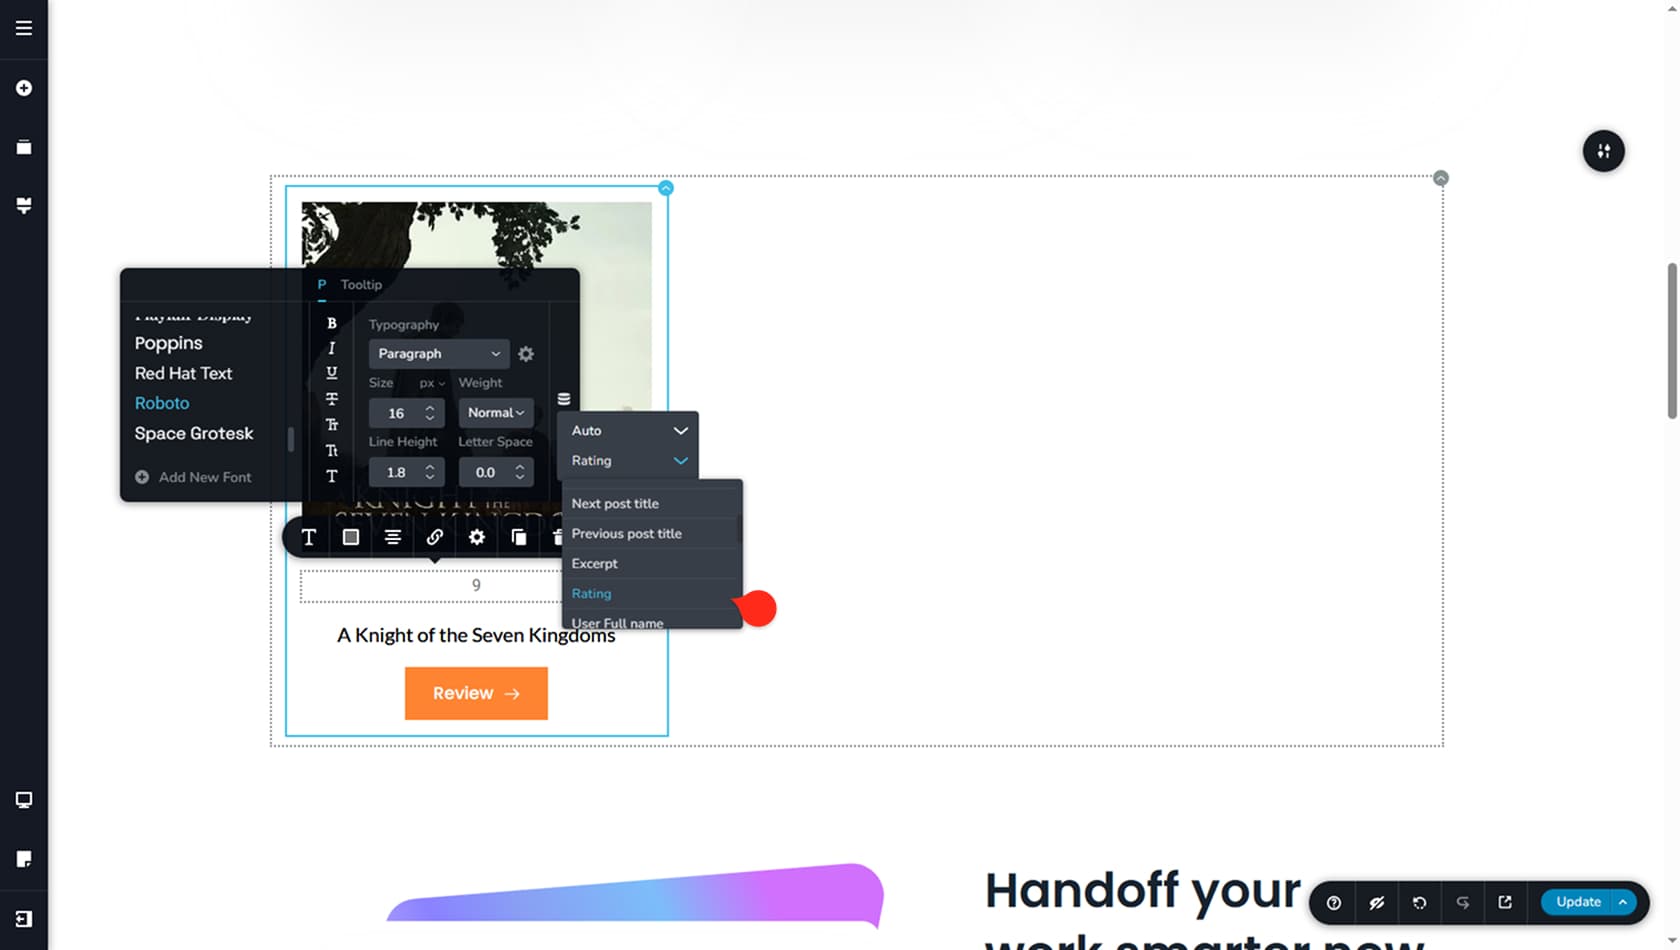
After selecting the asset type, use the second dropdown to choose the specific field that will supply the dynamic text. In our example, we selected the Rating field, which contains the value 9. Open the second dropdown and browse through the available fields and metadata until you locate the desired label, in this case, Rating. Once selected, the value is automatically pulled from the CMS.
The fields displayed in this dropdown correspond only to the asset type previously selected.
Dynamic Links
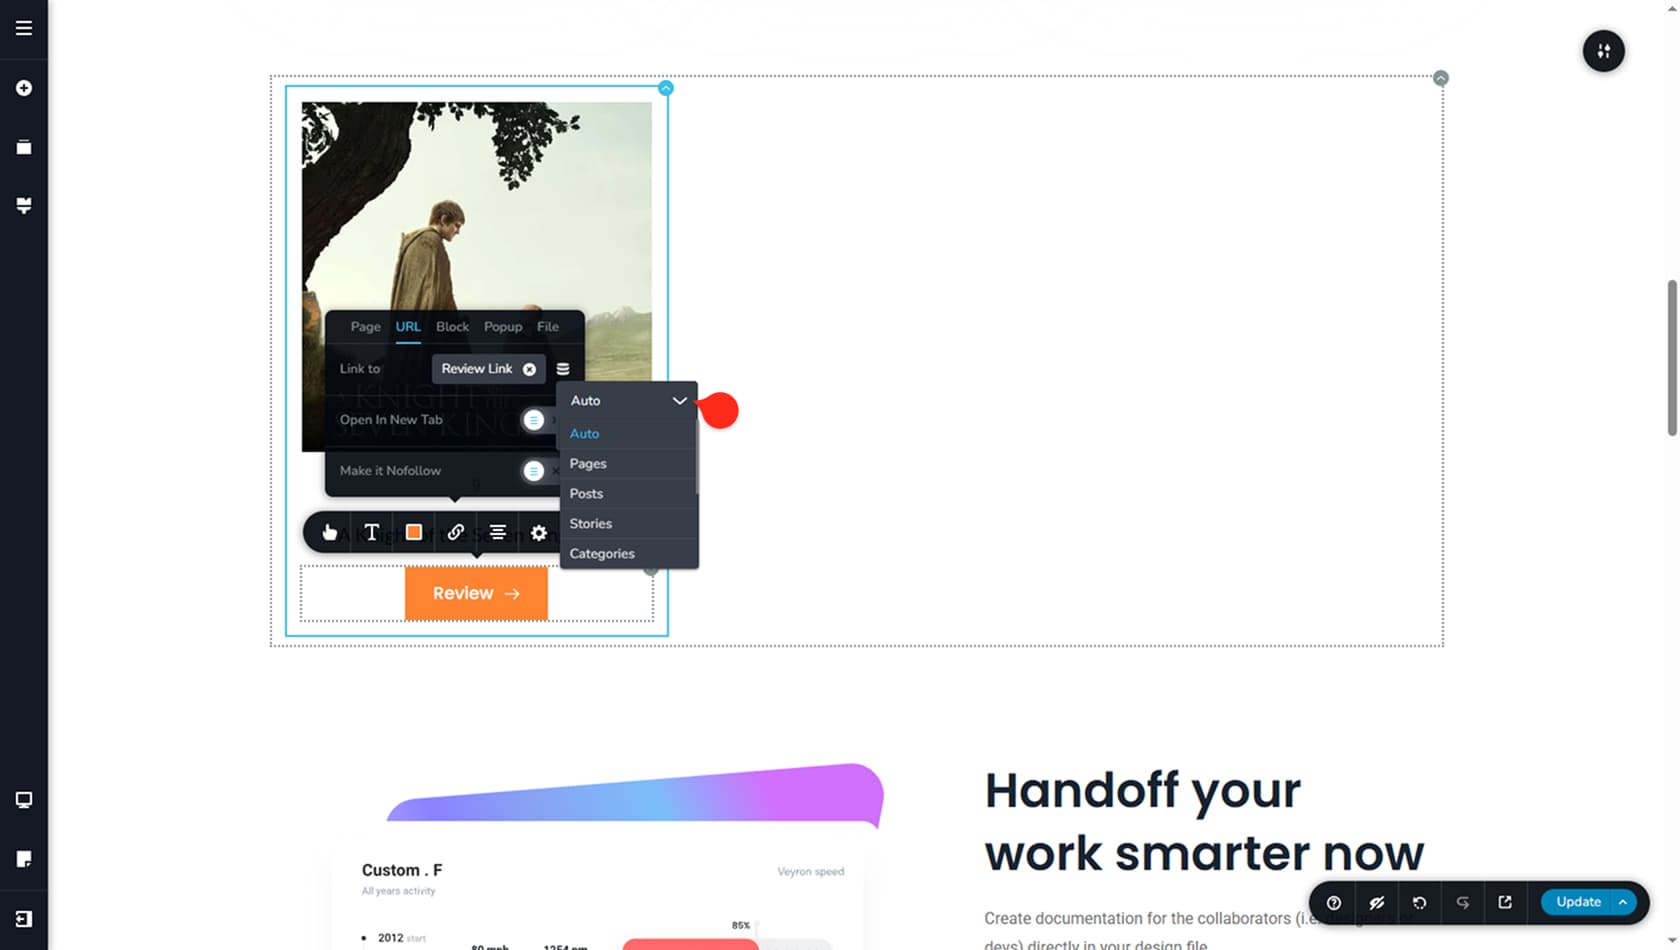
Setting up a dynamic link follows the same principle as dynamic images and text. First, use a widget that supports links in its toolbar. For this example, we’ll use a Button widget. After clicking the button, open the Link option in the toolbar. Instead of manually entering a URL in the “Link to” field, click the dynamic icon on the right side to configure a dynamic link. This will display two dropdown menus.
The first dropdown lets you select the asset type from which the link will be generated, such as Pages, Posts, Stories, Categories, or any Custom Asset types you have created. If the Button is placed inside a Posts widget, selecting Auto will automatically use the asset type defined in the Filter source of the Posts widget.
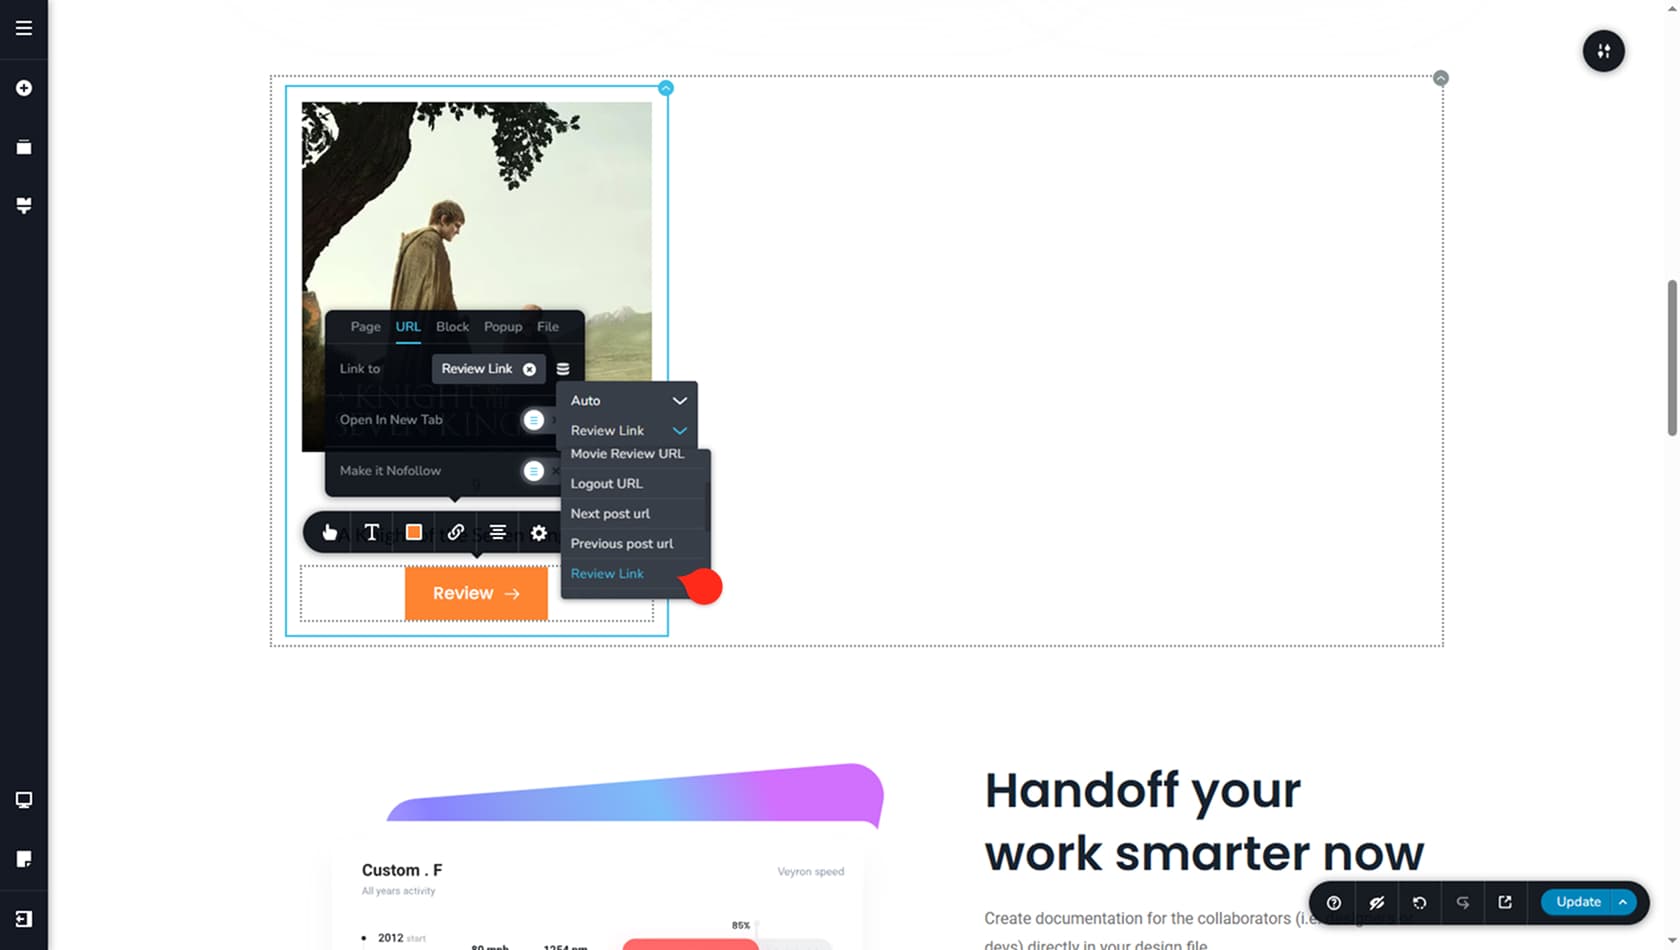
The second option allows you to select a link field from your chosen asset. In our example, we created a Custom Field called Review Link within our Custom Asset type. Simply open the dropdown and select the appropriate link field. Once configured, the Button will automatically direct to the URL defined in that asset field.
Dynamic Elements are Intrinsically connected to the Blogging and the Advanced Custom Fields Assets articles.